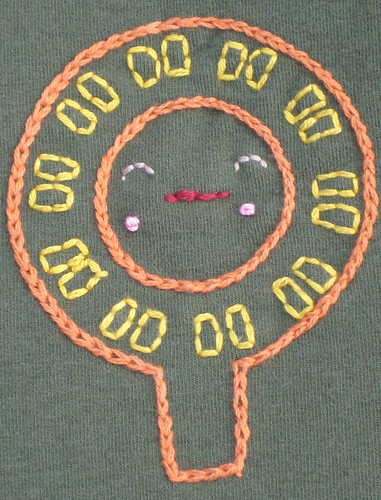
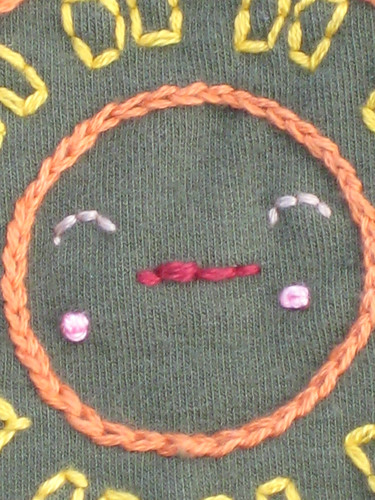
i purchased a couple of zines from radicalrags.etsy.com, hoop-la 1 and hoop-la 2 and they were quite inspiring, much along the lines of this amazing embroidery and cross stitch artist http://www.beelisty.com/. in addition, the winner of the craftster.org summer needlework challenge was this amazing piece, titled "Self Acceptance". the creator, zombiekilla, graciously provided the pattern, and i'm dying to stitch it.
and then the Richmond Art Gallery had a call out for submissions for their 3rd annual ATC exhibition. the themes were Life as Art, Correspondence, Gender Roles, Home and Domestic Life, Community, and Friendship Across Distance and Difference. i started thinking about ways to express gender in atcs as more than just binary, of showing femme and trans and genderqueer genders through collage and needlework on 2.5" x 3.5" scale... i got really excited, but due to the the "big secret project", i totally didn't have time to enter.
so i've been thinking a lot about needlework and politics, and reading the most recent issue of fiberarts, which despite an annoying writing style that celebrates "master artisans" as opposed to all artisans, is really blowing me away if i just concentrate on the artwork!
i've also been thinking for months about sewing a line of clothes for fat folks that are actually fun and not cheesy, but of course that's never happened, since i can't even keep my current etsy shop stocked! but fat fashion is still close to my heart, and i regularly follow the livejournal community fatshionista. at one point i did do more fat oriented crafting, like the stuff i made for the fat swap a few years ago, and even longer ago than that, my fat femme paper doll magnets and all the subsequent pieces i did with that image (though she was really more of an inbetweenie i guess!).
and then last week i hauled my butt in vancouver to buy the most recent issue of craft (after searching aimlessly in my city and it's closest neighbour, and even calling craft itself, but they didn't bother to return my call) at mayfair news and walked out with craft, the new burda world of fashion, the most recent canadian dimension, west coast line issue 55: cedar table - art and anti-colonialism, the current briarpatch, and the summer issue of Our Times. after much reading (i'm terrified to eat anything at the moment, thanks to canadian dimension - god, why did i not know how TERRIBLE soy is for the environment?), i started thinking about how i never relate my politics into my work. sure, i PLAN out labour inspired pieces... but do i ever get around to making them? nope! i need to stop crafting for others, and start making stuff for myself, obviously!
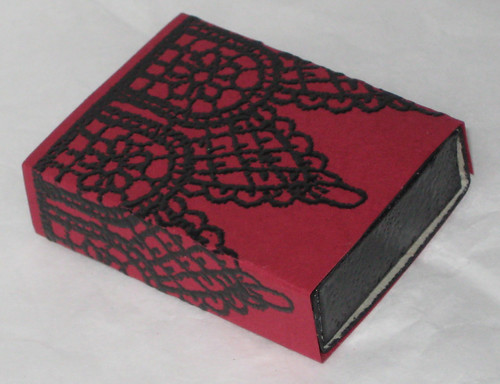
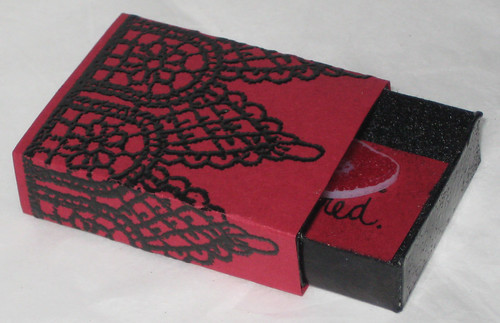
so on that note, combining politics and crafting and needlework, i started thinking about crafting something more political than usual. the amazing and inspirational pam at faster kittykill works at Portland Women's Crisis line, who are putting on their annual Safety In Numbers gala and auction to end domestic and sexual violence, and i was determined to make something more than my typical cool but un-inspirational stuff to donate. i really wanted to make something specific to the crisis line, but all the ideas i had were distinctly canadian (like the cfs no means no campaign, or a memorial of December 6th, 1989 Montreal Massacre). since people in portland probably didn't grow up with the distinctive purple and black stickers (no means no campaign), or with 14 red roses on december 6th (memorial of the 14 women murdered), they probably wouldn't know what the hell the piece was about! so i decided to go with a more general issue that affects so many folks, body image and fat positivity.
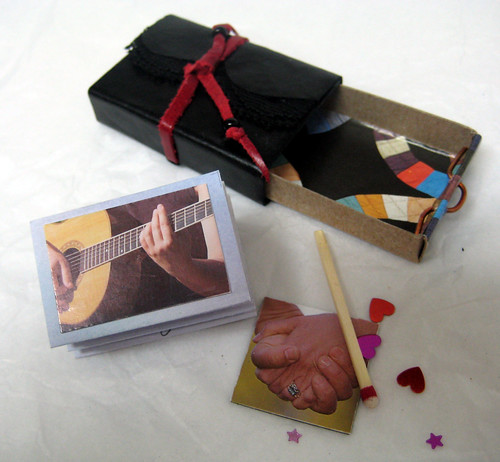
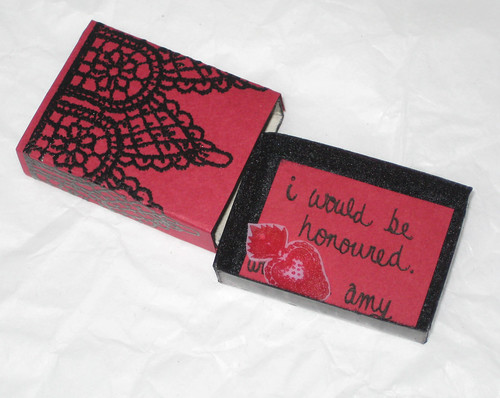
and now that i've rambled for sooooo long, i'll actually show you what i made!
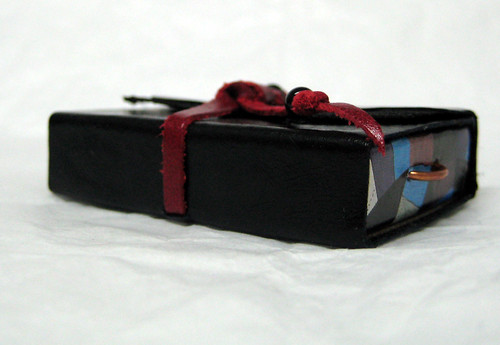
unfortunately, it photographed TERRIBLY. i ask myself regularly "amy, why do you work so much with a material that absolutely refuses to photograph nicely?" and then i think "because it's vinyl, and i adore my vinyl-y goodness, and that's really all the answer i need!"
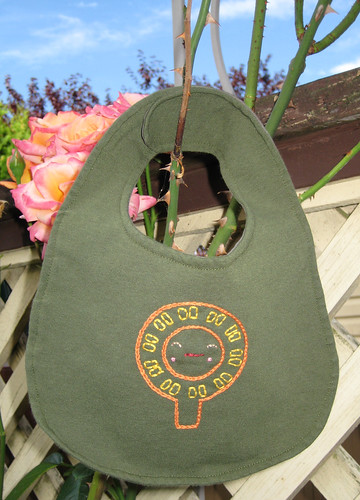
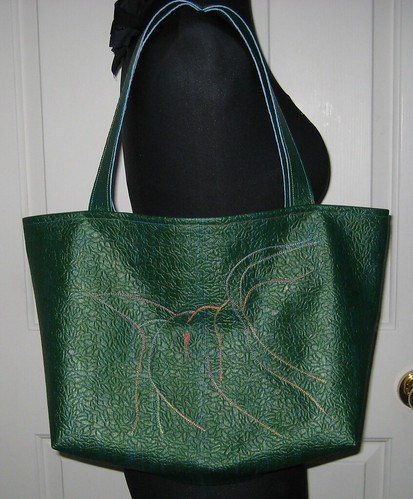
so i will show you the blurriest picture first, because it actually shows the image the best!
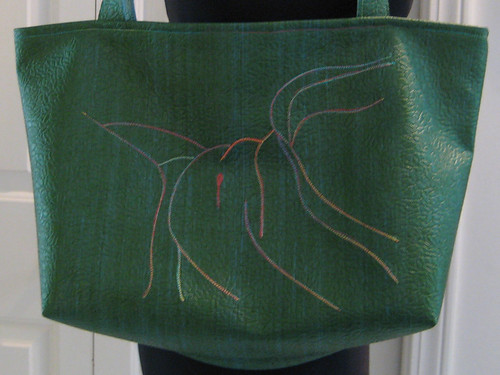
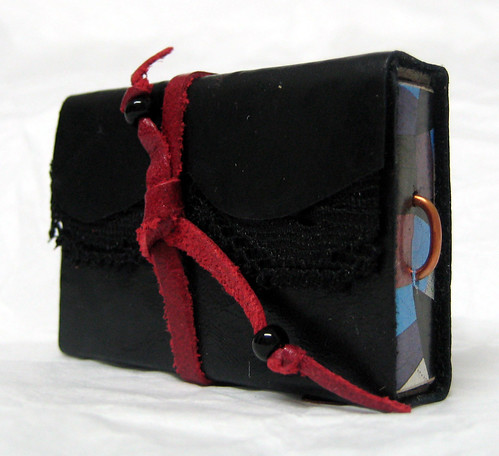
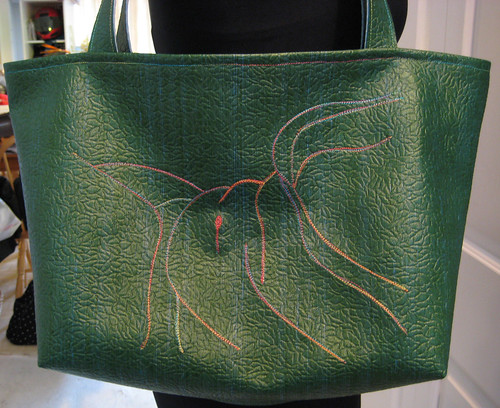
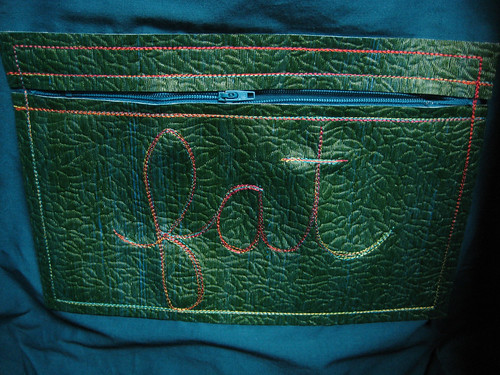
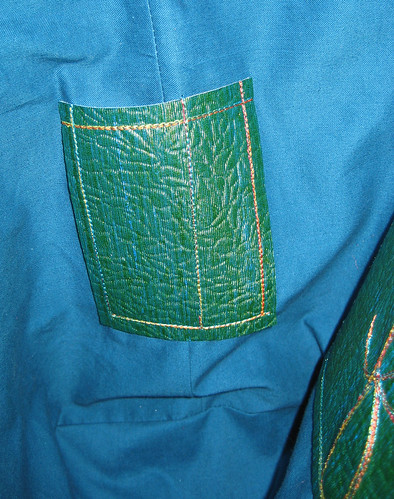
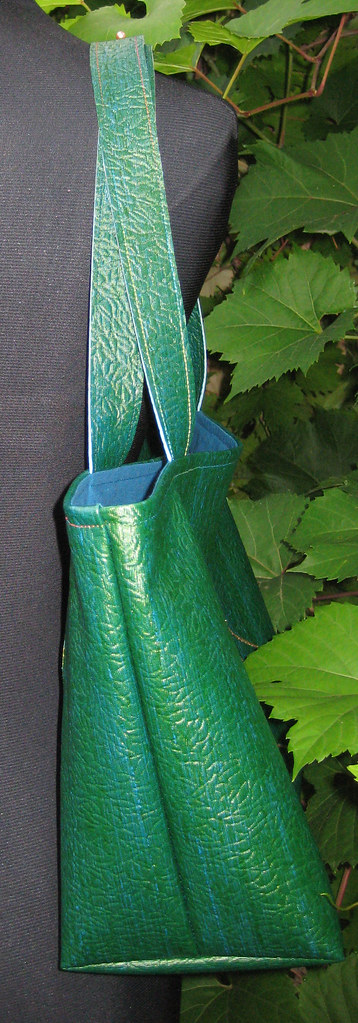
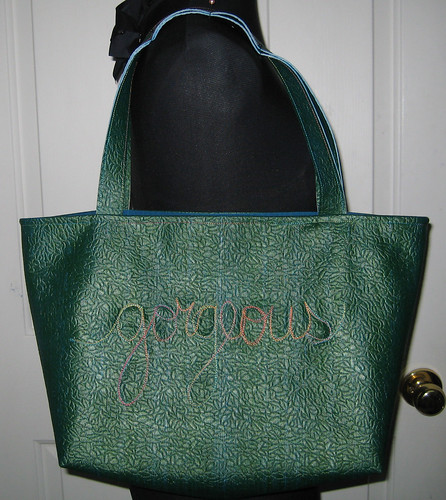
the bag is made of vintage deadstock vinyl that's textured (hence the worse pictures than usual!), with an image of a fat woman reclining in a bikini freehand machine embroidered on the front in this awesome variegated thread that my friend linda sent me. the backside has the word "gorgeous" embroidered the same way as the image on the front. the bag has 21" straps, so that anyone can carry it (i hope! it's still MUCH better than purchased totes that don't fit around your arm!), and is lined with teal blue cotton fabric. the inside has two pockets, both made of vinyl. the larger one is zippered (vintage deadstock metal zipper) with the word "fat" embroidered on it. the second zipper is smaller, sewn to hold pens. one portion of the pocket is larger, perhaps to hold a sharpie for "commenting" on ads? (hint!)
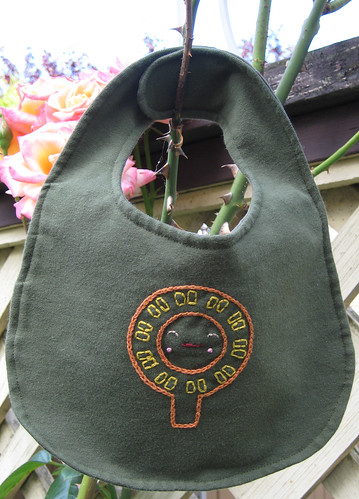
front
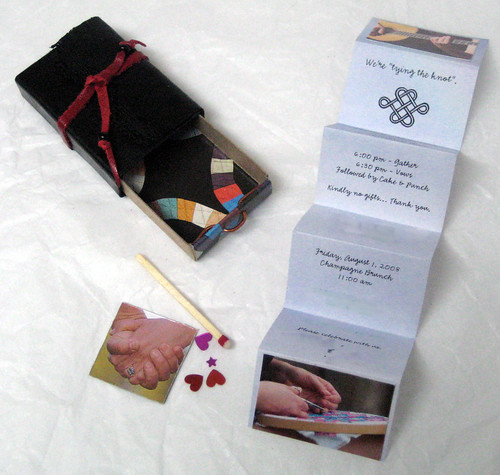
inside
side
back
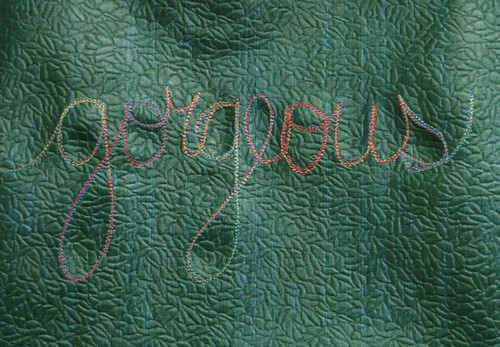
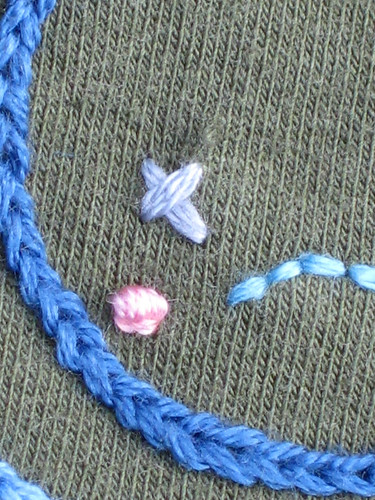
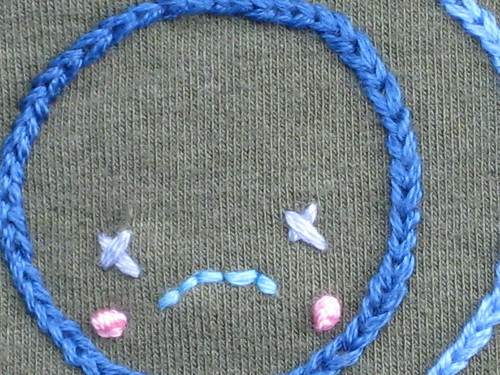
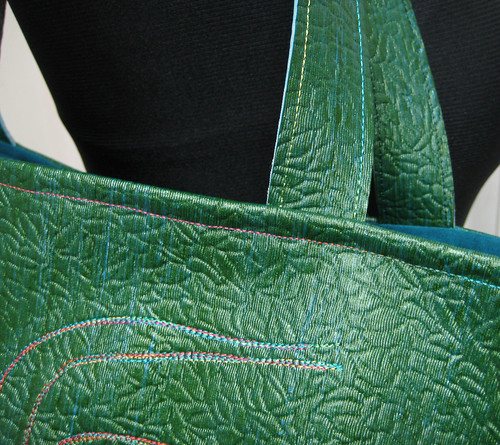
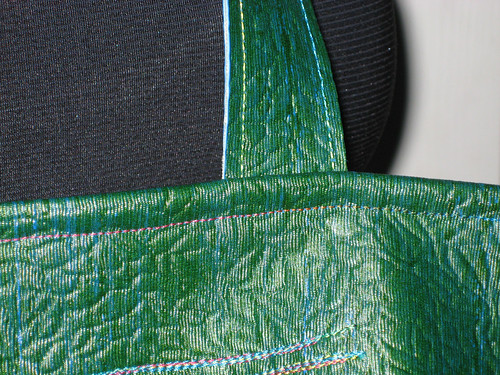
detail
all the topstitching was done with the same variegated thread used for the embroidery
i love it. it was sad to mail it away!
ADDENDUM!
i posted this on craftster, and some stuff came up that i wanted to talk about, so i did another post about it here - http://craftydame.blogspot.com/2008/09/addendum-to-fat-girl-vinyl-bag.html just FYI!