Showing posts with label recon. Show all posts

Wednesday, September 21, 2011

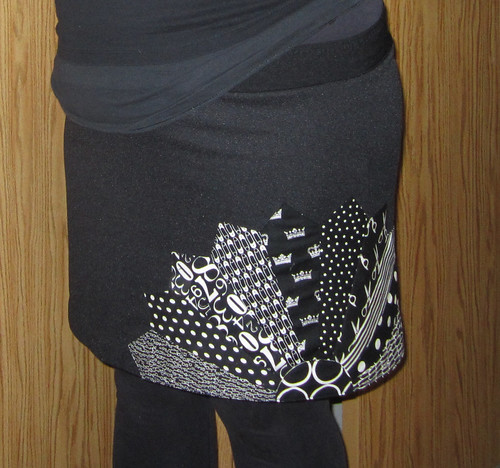
this black and white dresden pops!

i've missed the past few Iron Craft challenges. i was busy with something else (damned if i know what) the week that the theme was Creative Activities (ie, things you'd enter in a state fair), and though last week's Shrink to Fit mini challenge would have been a great excuse to make a mini quilt, or something even littler like that patchwork ATC that i made years ago, i completely forgot about it.

but this week's challenge was different!

the theme was Black and White, and it fit perfectly into a few things i'd been meaning to get around to anyway.


you might not remember/know this, because i'm terrible at posting about it, but i do make clothes on occasion. i used to make clothes a lot, along with costumes for both theatre and burlesque, but since i've been obsessed with quilting for the past year, my garment sewing has pretty much fallen by the wayside. which means that i really really need some new clothes!

so one of the things that i've been meaning to get around to is making some new skirts. i have quite a few pieces that i've bought in thrift stores to reconstruct, and not nearly enough variety in the skirt section of my closet!

and i've been thinking about using quilting imagery/symbolism on skirts. i honestly don't remember where the idea came from, though i know i've seen a few different variations around since i've started thinking about it, so apparently it's a common idea!


new skirt + quilting imagery + a stack of black and white prints =
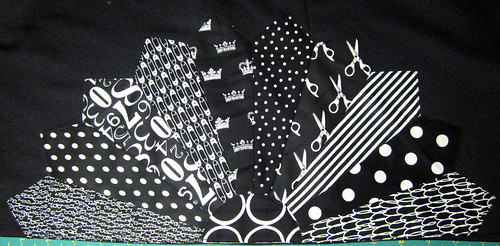
dresden

skirt side 1

a dresden plate on a skirt!

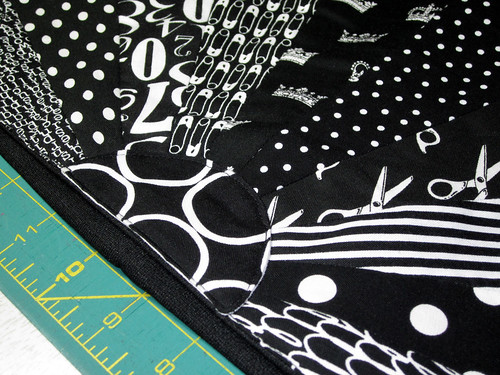
half circle applique

the dresden plate is topstitched onto the skirt, and then the centre of the dresden was made using that applique method that everyone's been raving about for circles - you know, when you sew a super lightweight fabric to your regular fabric, like an interfacing or something, and then cut a slit in that and turn it right side out? i've seen it called double applique. anyway, i'm not super impressed.... you can see the lightweight fabric along the edge of the circle. it would be great if i was doing a zigzag around the edge of the circle, but if i was going to zigzag it, why don't i just do a raw edge applique?

but anyway, i still love it. the skirt itself is my favourite skirt material - doubleknit weight polyester, which i've always called fortrel. fortrel is technically a specific brandname, but everyone i know has always called all polyester of that weight fortrel. it's nasty to wear against your skin, i know, but it makes the BEST skirts! it hangs awesomely, and lasts freaking forever.
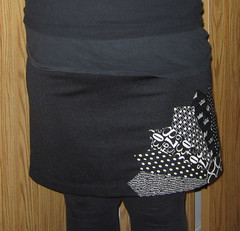
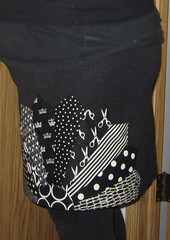
skirt frontskirt side 2skirt back

i bought a long black fortrel skirt at a thrift and cut off the bottom half for this skirt, which means i'll have enough left for another skirt from the top. i made a waistband using a comfier black knit, and a wide elastic. simple, effective. next i want to make one with hexies.....

Thursday, September 1, 2011

even if my life isn't interesting, at least my journal is!

do you keep a journal? i've tried off and on over the years, but i can never keep up with them. for a long while as a teenager i had sketchbook journals, but i can't keep up with them either. i can't even keep up with a daily symptom log, much less actual personal writing!

my great grandfather kept a daily journal for years and years and it's fun to read them - though truthfully, a lot of it's very dry and routine. there's only so much you can read about the weather and crops 75 years ago before it gets a bit dull! but they're still very interesting to read.


as much as i never write in journals, i do really like to make journals. when i went to manitoba in july, i collected papers of all sorts along the way and made a journal one day when i was up at the cabin. this week's Iron Craft theme was "Done Reading", that is, we were challenged to make something using a book as our main material. this was the perfect excuse to make a few more journals, since my favourite journals are the ones made of recycled book covers.

since i haven't gotten around to posting the book i made while i was away, i'm going to post it along with my two new ones, since it's the same technique anyway.

journals

journals2

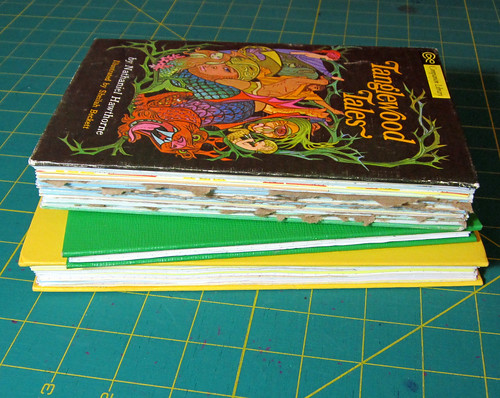
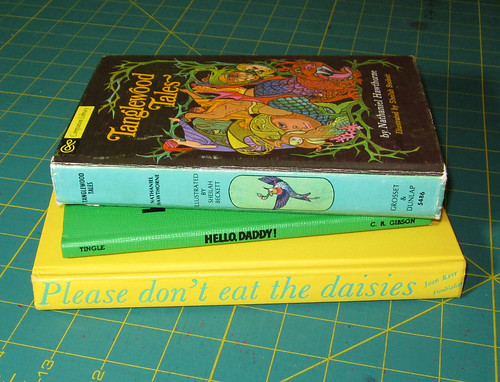
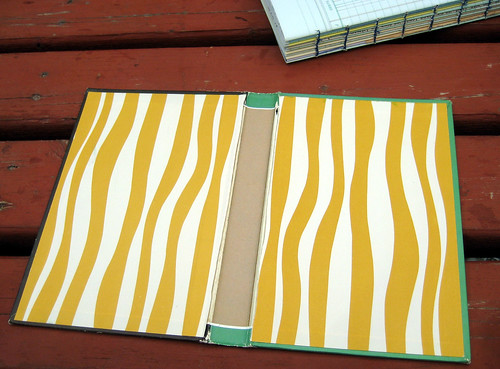
i start out with an old book that still has a nice sturdy cover. i carefully cut the pages out of the book, leaving me with just the cover.

hawthorne cover

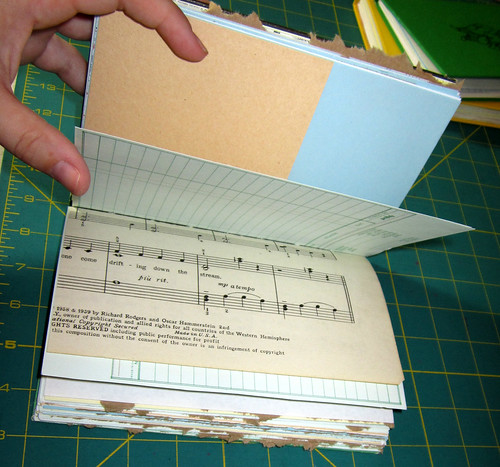
i measure the book to determine how big my new pages should be, and go through my stash of recycled and thrifted paper, pulling out lined paper, ledger sheets, sheet music, paper bags, envelopes, graph paper, tracing paper, etc. anything goes!

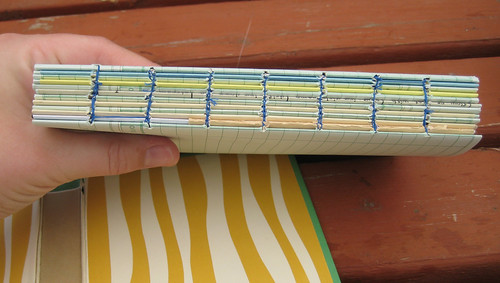
i cut the pages as needed, and fold them into signatures. i punch holes in them, then i stitch them together using the coptic binding technique. if you're unfamiliar with coptic binding, this tutorial is very good, and as is this Youtube video.

coptic binding

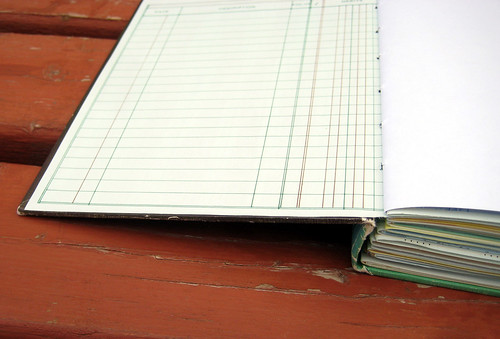
i make sure that the front and back signatures have a heavier weight paper on the outside of the signature, so that it can be used to adhere the book into the cover. for the little green book and the book i made in manitoba, i used thick ledger paper for the endpapers, but for the yellow book, i dug out some neat scrapbooking paper.

hawthorne pages

i use rubber cement to glue the end papers onto the hardcover, let it dry, and ta-da! a new journal, full of interesting papers to write on, draw on, and glue things into!


here's a peak into the pages of each journal -

hawthorne pages
the Hawthorne book was the book i did while i was away. it's pages are full of thrifted sheet music, ledger paper, graph paper, etc, maps i collected along the way, paper bags, wallpaper that i thrifted, thrifted onion skin paper, brown paper towels and more.


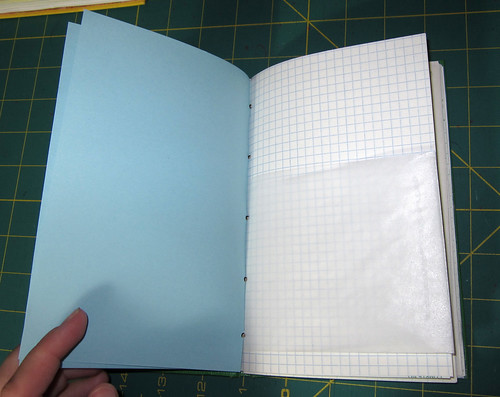
the green and yellow journals have much of the same pages as the hawthorne book, but i had a lot more selection to chose from with my stash, and i didn't use maps, paper bags or paper towels.

green pages1
graph paper, a glassine envelope, and coloured copy paper

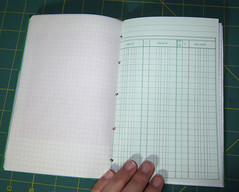
green pages2
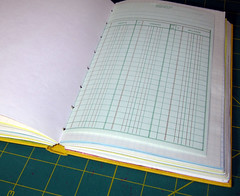
a different graph paper, ledger paper

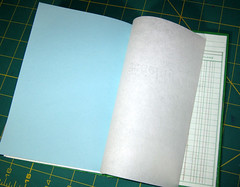
green pages3
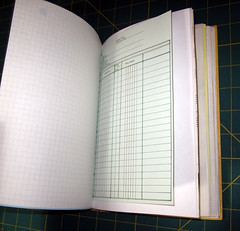
printed copy paper, onion skin paper, and the ledger used as an end paper

green book
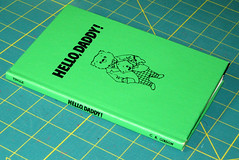
i couldn't resist this cover!


yellow pages
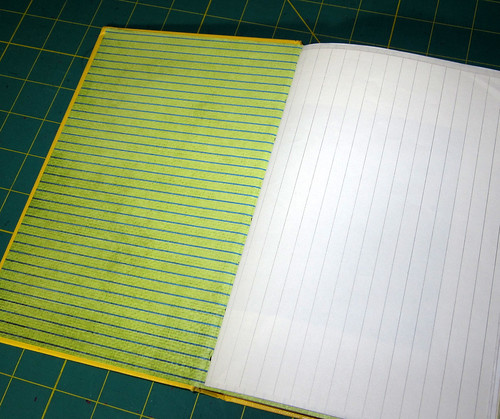
stripey scrapbooking paper end paper in the yellow book

yellow pages5
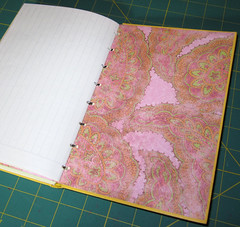
the back endpaper is a bright paisley

yellow pages4
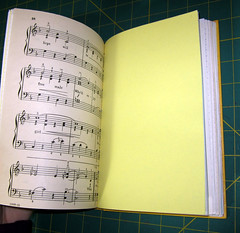
graph paper, tracing paper, ledger sheet, sheet music

yellow pages3
more sheet music, coloured copy paper

yellow pages2
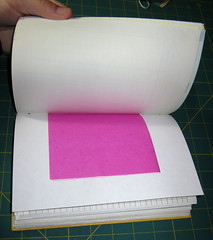
the yellow book is larger, so it has more selection of papers, such as this impractical but pretty pink tissue paper.

yellow pages1


of course, now i feel like the journals are too pretty to write in!

Monday, February 23, 2009

a reconned shirt that doesn't suck (hopefully!)

i know, i know, i JUST posted! but i'm trying to get caught up here, okay?

this is actually a really really old project! back in june 2007 Leah from craftster.org came to vancouver to shoot a HGTC craft show (She's Crafty - i think it's off the air now, which totally sucks. or maybe i can just never find it!) i picked her up at the airport and we went to daiso and had a great shopping trip hanging out with each other. it was so fun to see daiso through new eyes, and actually read some of the packages tht i'd usually skip over. we found multi-packs of disposable underwear. multi-packs! who needs multiple pairs of disposable underwear? and the english translation on it was REALLY bad, something about passion overwhelming you!

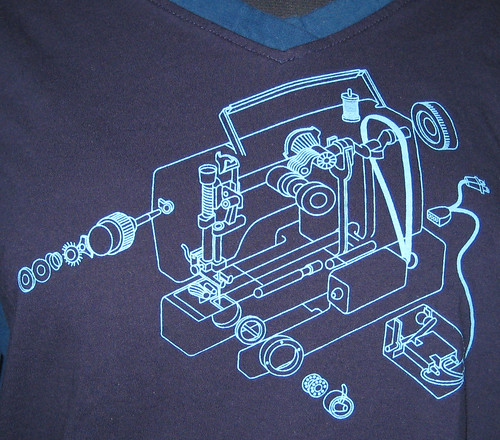
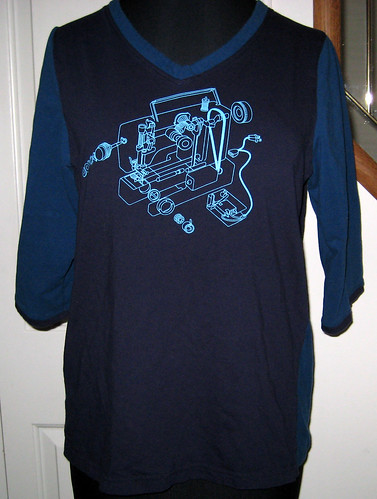
anyway, that's getting a bit off topic! but leah and i met up, and then i took her to her hotel. as i dropped her off, she gave me this AWESOME shirt from Magpie, the store in boston that she's one of the owners of.

IMG_7376
unfortunately the image was printed on an american apparel shirt, which might as well be kids sizes in terms of fitting me!

so i decided to alter it. i really dislike how obvious a lot of t shirt alterations are when it comes to making them bigger, so i really wanted to find a way make the finished top be cohesive. with a different shirt, i might try to find fabric that matched the ink on the silkscreen, but it was just a little too light for me (hella light for me!). instead i looked for a fabric that went well with both the base shirt and the silkscreening colour, and used it.

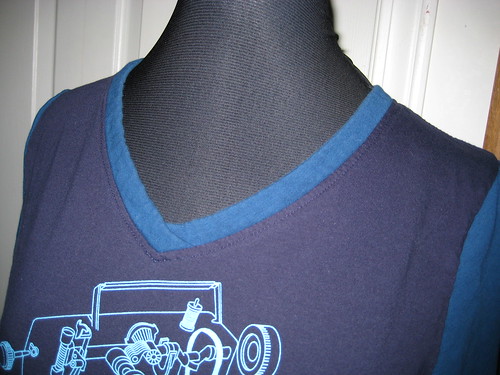
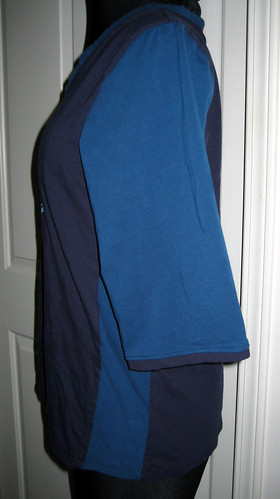
i cut the shirt open along the sides and cut out the sleeves. i also cut out the crew neck, because i can't stand having shirts that high up! i cut strips for the sides, and new sleeves to fit into the future arm holes.

i finished the neckline hem using the new fabric in a slight v. if possible i'd have liked to go lower, but the image was in the way!
IMG_7368


the sleeves are a bit puffed at the top, because i love that! and as a bonus, it made it much easier in terms of fitting in the new sleeve!
IMG_7374

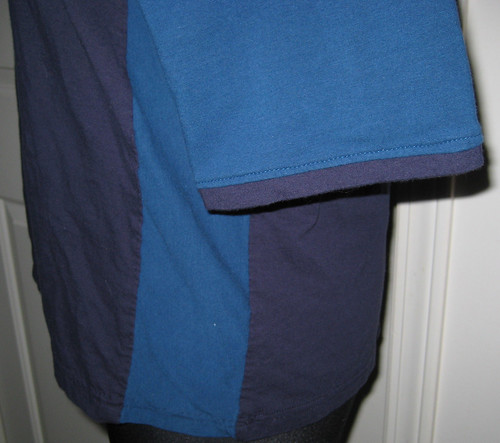
i finished the hem of the sleeves with strips cut from the original sleeves, just to tie it in a bit more.
IMG_7370

IMG_7366
i think the end result is a lot more cohesive than your usual recon. but i might just be fooling myself, what do you think?
Related Posts with Thumbnails