
You might have been made aware by the racks of them at the grocery store and the displays everywhere you go, but in case you missed it, gift cards are fast becoming a popular holiday gift. They show more effort and thought than cash in a card, and they allow the giver to have a bit more control over how the “money” is spent by the recipient. My grandma tells the grandkids every year - “don’t spend your Christmas money on booze or cigarettes” (and for me specifically, she adds “or thrift stores!”).
For instance, if you have a dad like mine, he’d really rather buy his own tools, when they’re on sale, of course, so we buy him gift cards to places like Canadian Tire, Home Depot or Princess Auto. It isn't that we don’t care enough to buy him a present; it’s that he’s impossible to shop for! And even though my mom is fun and easy to shop for or to sew for, her Christmas wouldn't be complete without at least one Starbucks gift card.
Sometimes a gift card is really what the recipient wants, and that’s okay. I’d much rather save the handmade gift for someone who will appreciate it, and buy my brother a gift card instead. And I’d much rather my aunt give me a gift card than the holiday pack of scented body products that she loves, but that give me a headache!
For crafty folks, a gift card in an envelope seems like a cop-out, doesn't it? Gift card holders can be a nice touch, a way to reflect the recipient’s personality or likes, and they look so much nicer in the Christmas tree than the standard white envelopes grandma does every year! These holders come together really nicely, and can be reused for next year’s gifts, or even to hold business cards or loyalty cards throughout the year. (if you're making these specifically to hold business cards, you might want to add a layer of interfacing for extra strength)
You’ll need:
2 pieces of fabric 7.5” x 4.5” (lining and outer)
1 piece 5.5” x 2.5” for the strap.
Matching thread
Knitting needle or some other blunt-but-pointy object
Standard sewing supplies, including a blind hem foot and a quarter inch foot
*a note about fabric selection - Paul has already made a ton of these using more "masculine" fabrics, mostly greens and blues. if you're making them for the craft fair, please chose other colours so we'll have lots of variety. feel free to use holiday fabrics!*
Step 1 – Cut out three pieces of fabric. Two main pieces 7.5” x 4.5” (lining and outer) and one piece 5.5” x 2.5” for the strap. Your strap should contrast nicely with your main fabric, I like to use the same fabric for the strap as for the lining.
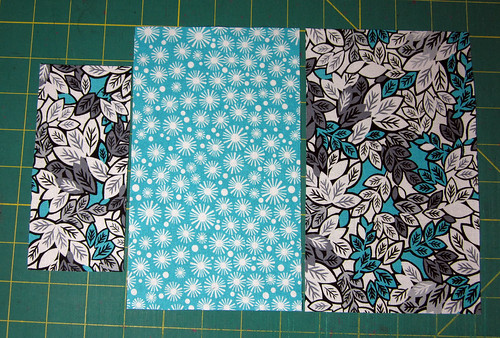
(You could also use something fancier for the strap, such as ribbon, twill tape, or a selvedge strip, but you’ll need to fudge the 2.5" measurement to match what you use. I’ll leave that up to you!)
Step 2 – take the strap piece and press in half
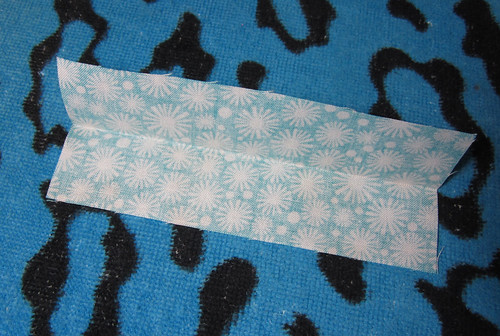
Step 3 – open it up, and press the edges towards the fold
Step 4 – press it in half again, enclosing the raw edges, and pin the strap so
that it doesn't come unfolded.
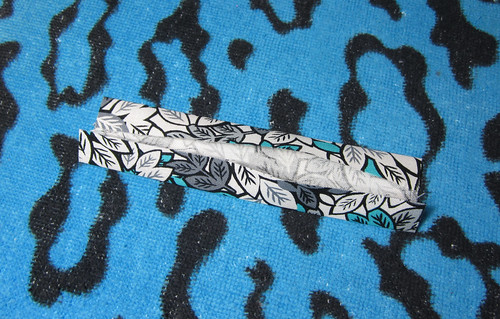
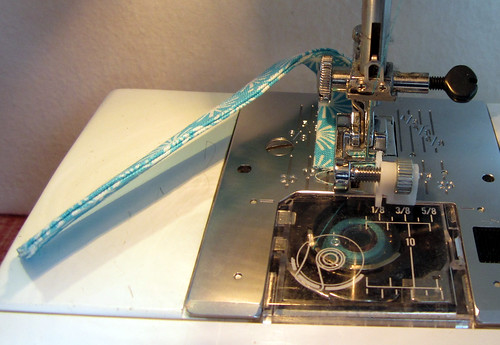
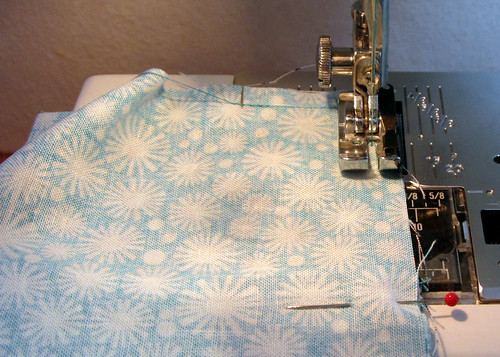
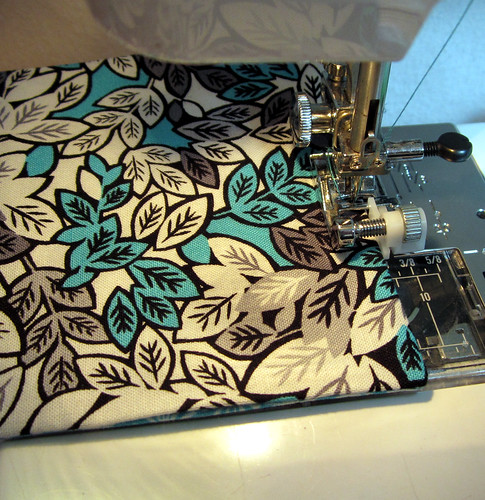
Step 5 – remember the blind hem foot magic from the bunting tutorial? We’re doing that again! Using your blind hem foot, topstitch closely along the open side of the strap, removing the pins as you go.
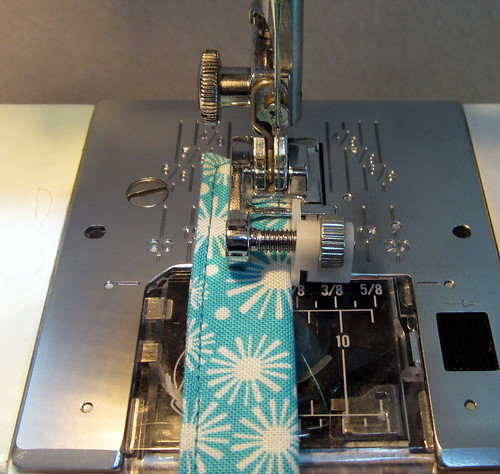
Step 6 – when you get to the end, flip the strap and topstitch down the folded edge.
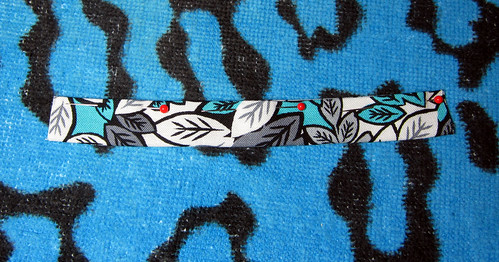
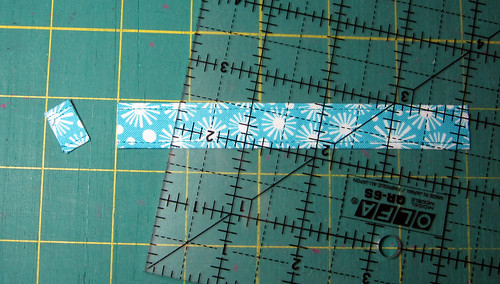
Step 7 – trim your strap length to 5”. We started with a slightly longer strap because with fiddly stuff like this, your sewing machine will often grab at the ends, or the topstitching might be a bit wonky to start, so this way we can neaten it up. Trim .5” off one end, or .25” off each end, whichever you need to do. Set aside your finished strap for now.
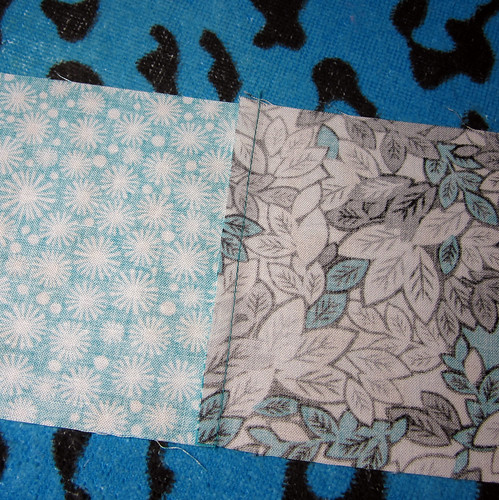
Step 8 – take the two remaining fabric pieces and match the short ends.
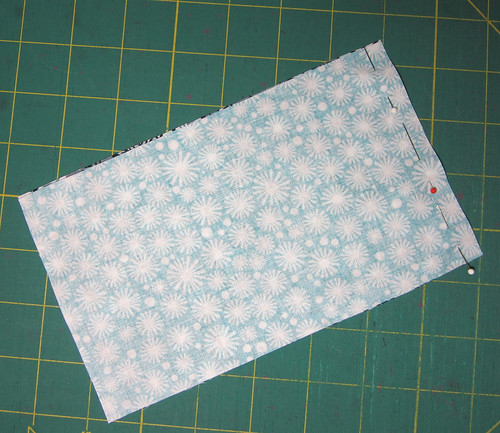
Step 9 – using a 1/4” foot, sew the short end of the fabrics together and press the seam allowance to one side.
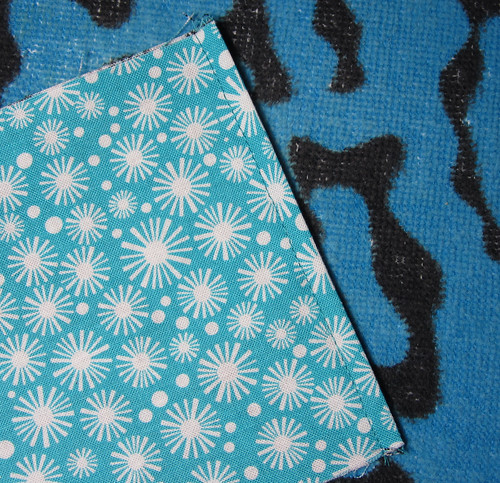
Step 10 – press the seam again, this time flipping one of the fabrics to the back, so that the pieces are wrong sides together.
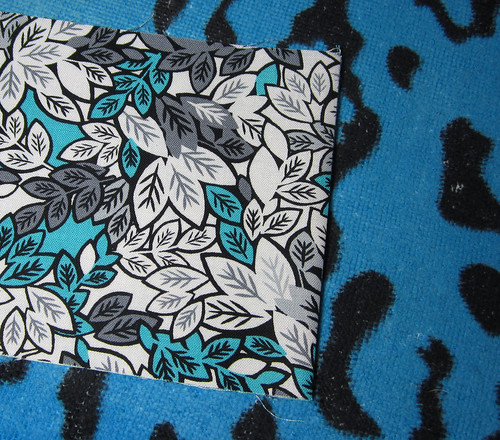
Step 11 – topstitch!
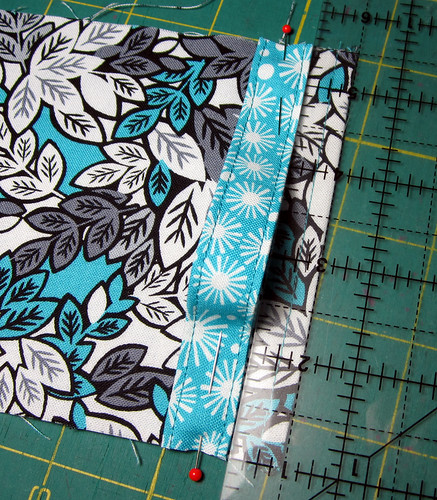
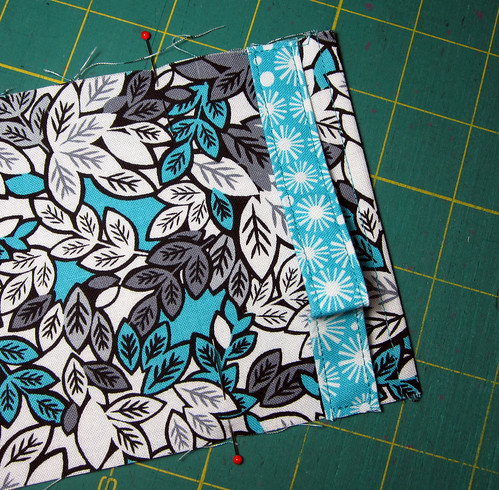
Step 12 – take your strap and pin the ends .5” below the topstitched edge. Your strap won’t lay flat, because it’s .5” longer than the width of the fabric – but it’s supposed to be, so don’t worry! Sew the straps at the edges, staying within the seam allowance so that your stitches won’t show later. Basically, you’re just basting the strap into place so that it won’t wiggle around in the next few steps.
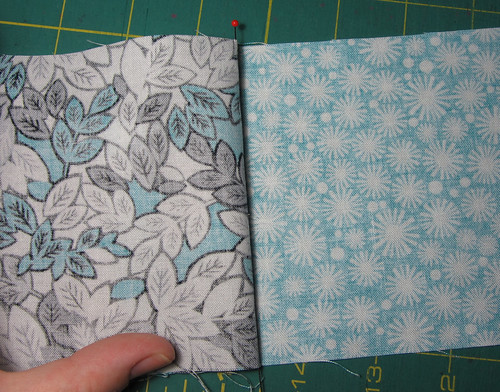
Step 13 – going through the top layer of fabric only, place a pin horizontally into each side, 2.25” down from the topstitched seam.
Step 14 –fold the upper fabric back on itself, right sides together, along the pins. Fold the lower fabric back on itself the same way.
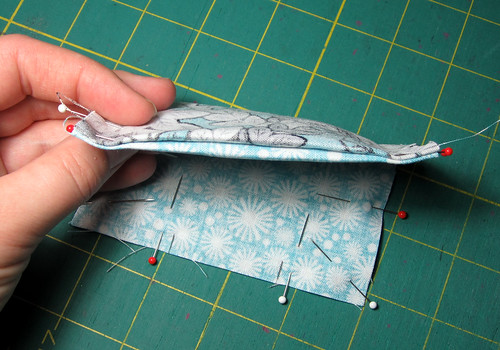
Step 15 – this is what you’ll have, two separate folds of fabric side by side. This sounds confusing, I know, but it works really slick, and is easier than it sounds!
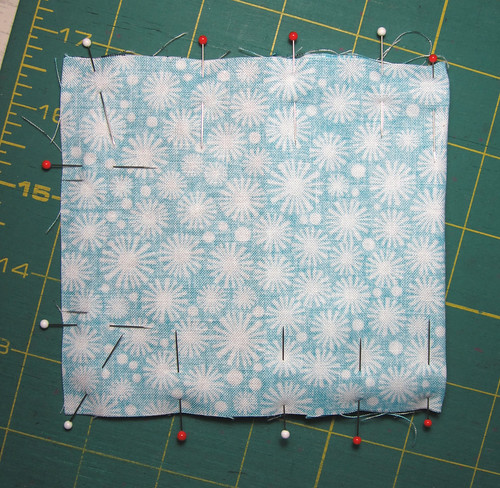
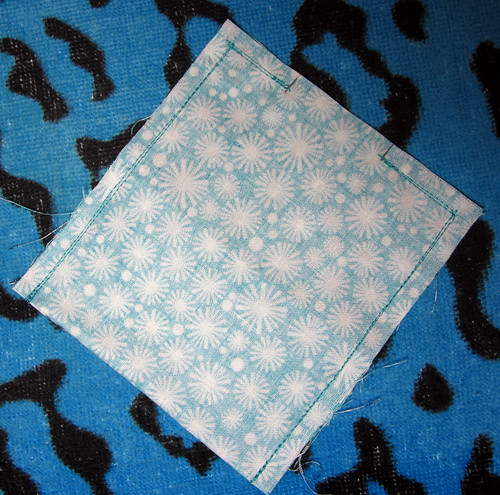
Step 16 – once you’ve folded both sides back, you’ll be left with a squareish shape that has two folds on one end, and multiple layers of fabric enclosed within it. pin around the edges of the square. Don’t forget to leave an opening opposite the fold (on the edge that is only two pieces of fabric)! I usually sew about 1” from the ends, leaving the space between open.
Step 17 – using your quarter inch foot again, sew around the open edges of the square (not the edge with the folds!)
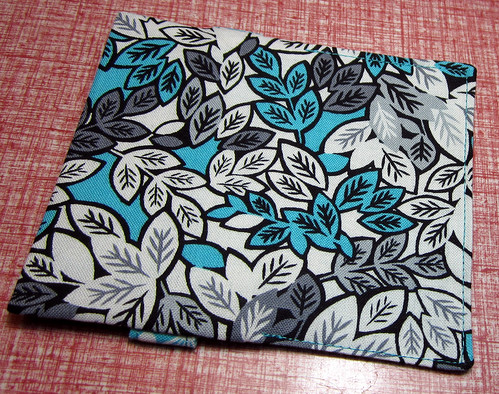
Step 18 – see? Three sides sewn, with an opening for turning opposite the folded edges.
Step 19 – trim the corners, being careful not to cut your seams.

Step 20 – using a knitting needle or some other blunt-but-pointy object, turn right side out through the opening you left. Magic!
Step 21 – press the right side out holder flat, taking care to fold under the edges of the opening neatly.
Step 22 – back to the blind hem foot! Topstitch along the edges of the flap. You’ll start sewing just above the topstitched seam, go around the corner, enclosing the opening , turn the corner again, and stop just before the topstitched seam.
Step 23 – did that sound confusing? Here’s a view from the back. You’re basically sewing a C shape. A very graphic, linear C!
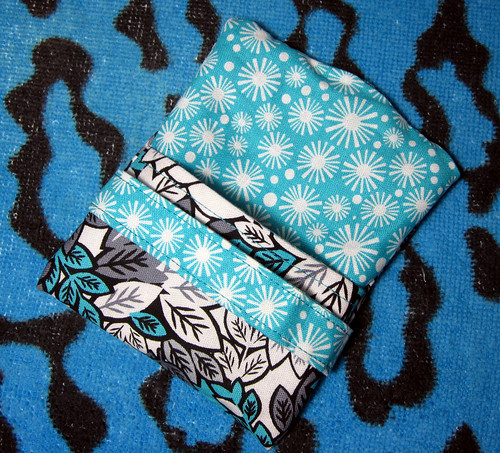
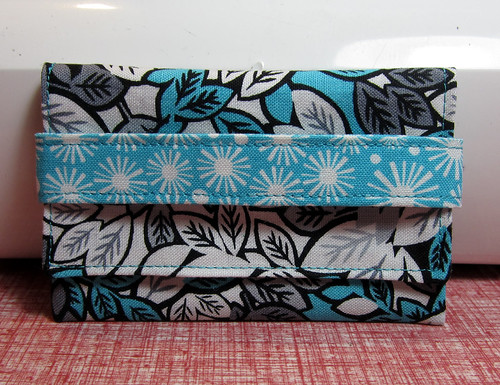
Step 24 – that’s it, you’re done! Put a gift card in the case, slip the flap under the strap (tongue twister, there), and it’s ready to give! Isn't that nicer than a cardboard sleeve?
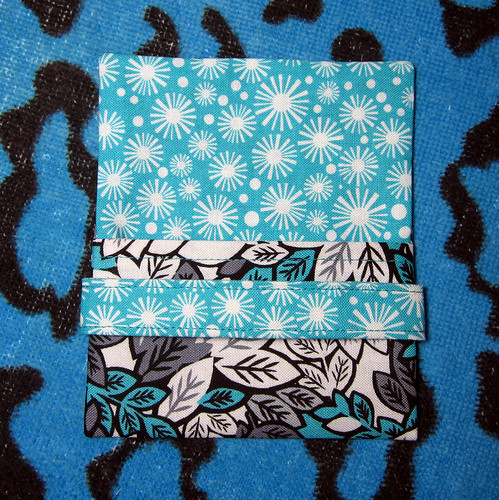
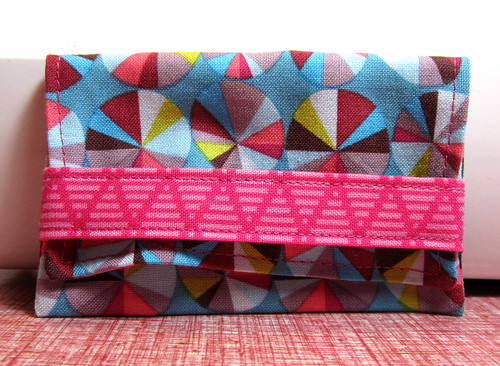
Remember how we cut the strap longer than the width of the fabric pieces? If you cut the strap the same as the main pieces, there won’t be enough space for the flap to slip in, and it won’t lay flat. Like this super cute gift card holder that I made first… Learn from my mistakes folks!
i'm linking this up to Fabric Tuesday at Quilt Story, so if you're visiting from there, you won't know that the Vancouver Modern Quilt Guild is participating in a craft fair, and i've been posting a series of tutorials for our members to follow for the merchandise that we'll be selling. so far i've posted Mini Bunting and Needlebooks, and there will be more to come!

7 comments:
Hooray! I've been looking forward to this tutorial and think these gift card holders are super cute! Thanks for the tutorial! I've got to get one of those blind hem feet asap.
Brilliant Amy x
fabulous - quick, but oh so cute! thanks Amy!
Hey I recognize that ironing board towel!
Great tutorial Amy! And I recognize that fabric on the last folder, it's the same fabric as your gnomes isn't it?
Like the idea and the tutorial..i would like to keep it in mind and will use it for the design of Gift Card envelopes.
You're fabulous Miss Amy
Post a Comment