this year i was all determined that i wasn't going to go overboard, that i was only going to send valentines to people who i knew would really appreciate them, and i was definitely going to stay below 30.
that was all fine and good, until i had a brainstorm that ended up with them being the most time intensive valentines EVER!
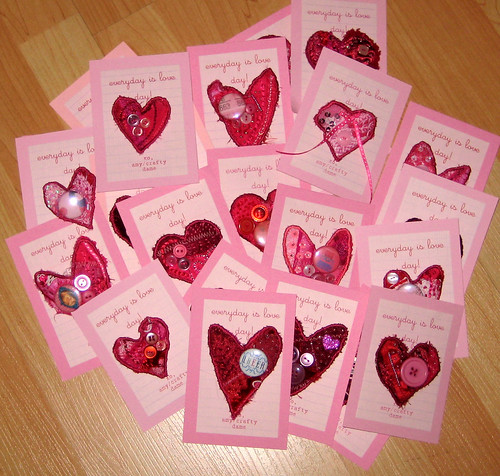
this was the finished result - cause if i'm gonna go overboard, i'm gonna go all the way!
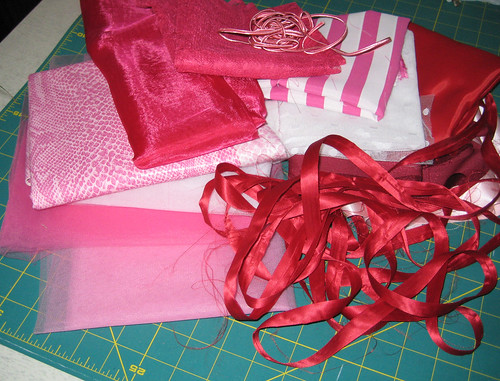
this is what i started with - fabrics in shades of pink and red, trims and tulle.
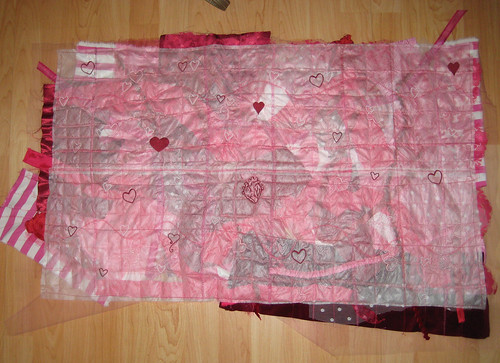
using spray adhesive, i laid out pieces of fabric onto a large piece of tulle and then used more spray adhesive and covered it with wash away stabilizer, which is seriously the coolest shit ever. i sewed the crap out of it (good time to use up bobbins and almost finished spools of thread!) to hold it all together, and then added some machine embroidered hearts scattered around it.
the next step was to remove the washaway stabilizer, so i filled up my kitchen sink with hot water and dropped it in.
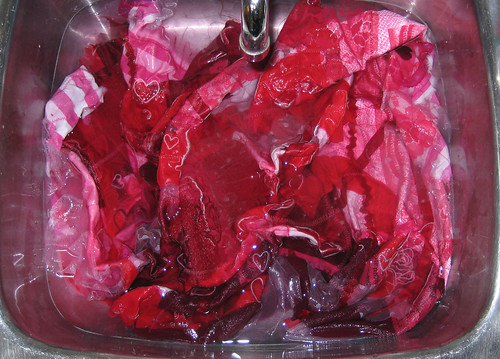
i swished it around in there for a while, replaced the water at least once, and then tossed it into a pillowcase and put it in the dryer.
and this is what emerged -
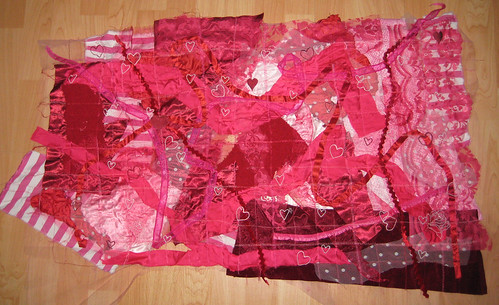
and the back -
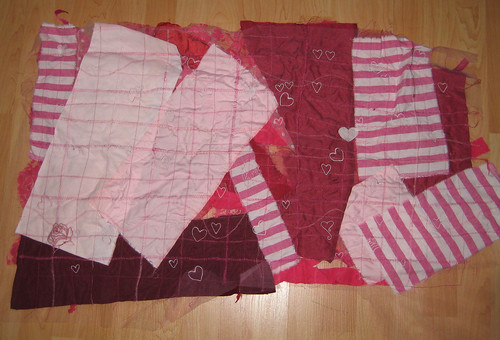
i started out cutting the large piece into smaller shapes, squares and rectangles mostly.
and that's when the REALLY time consuming brainstorm hit!
what if i cut out hearts and made everyone heart brooches!!?? how fabulous would that be?
so i drew up heart templates. i cut out hearts. i cut out backing for each heart. i cut little pieces of the backing to hold the pin on.
and i started embroidering. every heart is embroidered, some have beads stitched on as well. i collected fun floss in pinks and reds (including metallic and rayon), buttons, sequins, beads, etc and stitched them all on. some of them had 1" pins attached to them, with images of other stuff i've made. i experimented with different stitches, and played around. they were so much fun! i've been really wanting to do more art quilting and mixed media embroidery, and these were the perfect size to carry around with me to work on.
but they kinda took a long time - by the time i finished the decorating, it was march. oops!
i used my machine to sew the brooch pin onto the backing, and then the backing onto the hearts. just a zigzag stitch around, holding them together. because i'd decorated right up to the edge on some of them, it was slightly challenging, but i switched to the darning foot, and that helped a whole lot.some of them came out a little wonky from the fabric stretching, but that just gave them character.


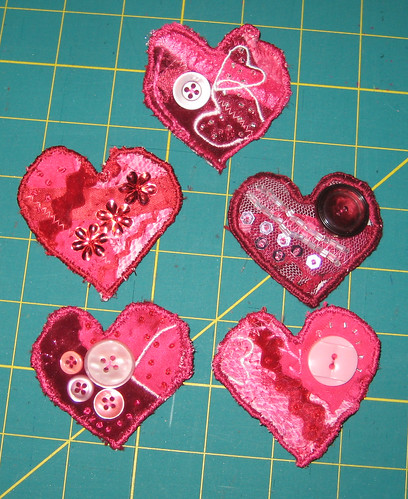

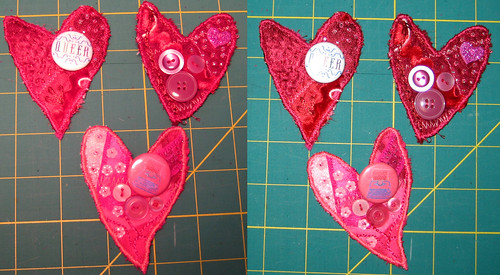
they were difficult to photograph, given the variety of textures and surfaces that caught the light.
at this point i decided that not everyone would want to actually wear a pink/red heart brooch, which is perfectly valid. so i decided to make them multitasking hearts, and make them magnets as well.
i sewed little pouches out of lace fabric - it was thin enough that the magnets still worked through it, and sturdy enough to not rip, and slipped magnets into them. i stitched them shut, and pinned them onto the hearts.

the bigger hearts were a bit too heavy though, so i tried using two magnets, as you can see. it worked, but wasn't quite as pretty as i'd have liked! i went and found some larger magnets and redid them, and i liked them much better.
i also had to think about presentation, right? how was i going to mail these? hmmmm...
i pulled out some pink cardstock and cut it into rectangles that would fit inside standard card envelopes. i wrote up a message in word, and printed it out onto my favourite paper - vintage french pink paper with graph lines on it. i cut the pink paper into smaller rectangles, and attached them onto the pink cardstock. i punched holes in the middle to poke the brooch through, so that the hearts could be pinned on.
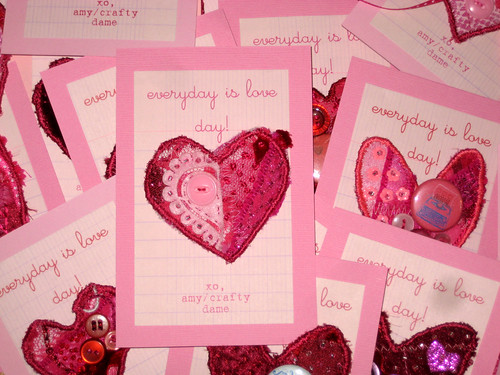
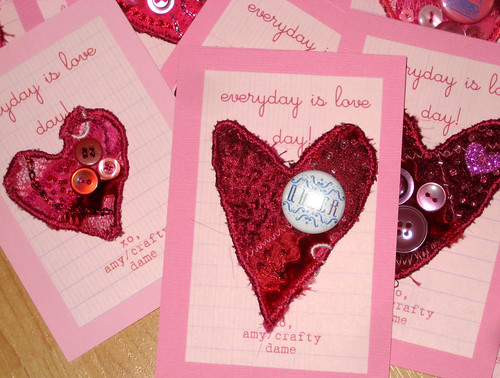
for the backs, i hauled out some rubber stamps and staZon ink and stamped away.

i stamped my blog address along the sides, a cute "handmade" stamp below the holes, and used a date stamp to stamp the month and year at the bottom.
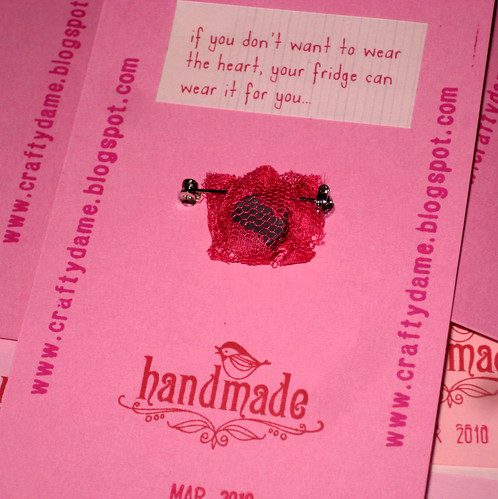
i also decided that i should explain the magnet, so i wrote up a little message in word and again printed it onto my favourite paper. i cut out the little snippets and ran them through my xyron, then applied them to the backs.
and those were my 2010 valentines.
and despite how much i love the end result, 2011's will be MUCH less time intensive!

4 comments:
that's mine on the bottom right of that first picture, and i love it! i dont do valentines day stuff at all, but this was a total treat good for any day of the year! so fricken sweet <3
I spotted mine! I reallyreallyreally love it, too. I wear it a lot!
whoever received these was very lucky indeed.
i love the 'queer' heart best.
They are so cool. Glad to see a new post full of inspiration.
Post a Comment