but i am so excited to post these. SO EXCITED. y'all don't even know how excited i am.
not only am i happy with how they turned out, they're DONE!
and that feels really damn good. i don't even know why, because i totally have projects that have been dragging along for much longer, but these sort of, i don't know, symbolized how behind i was or something.
i was originally hoping to have these finished by the May 17th VMQG meeting to show example of non-zipper closures. however, i obviously bit off more than i could chew, and instead of having one or two finished samples, i had this stack of cut out pieces and slightly sewn pouches that didn't really illustrate anything. it wasn't as huge deal, i had lots of examples of the closures themselves to show at the meeting along with a ghandout, and i compiled a big list of tutorials that i posted on the VMQG blog. but i wanted to finish these!
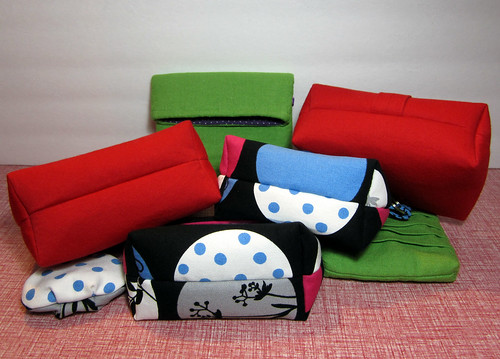
(aren't the bottoms all cute? i love boxed corners.)
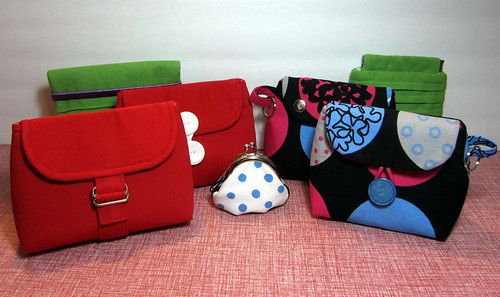
so, going across the picture, let's start with the red pouches. these were made using a red twill that my mom picked up for me, and it was a great weight to work with.
red pouch #1!
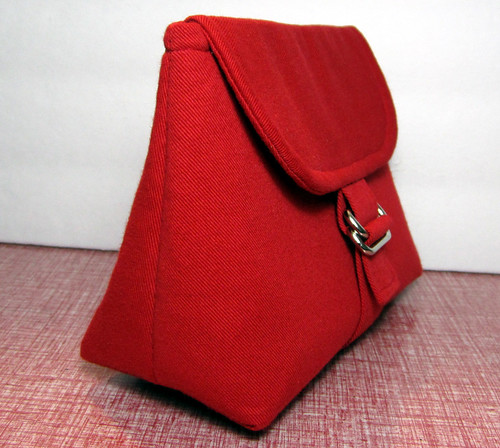
this pouch feels really preppy to me. does it to you? it's just so neat and tidy looking! i was originally going to use d-rings with a strap, but when i went to fabricland to buy thread, i came across these rectangular rings. even better!
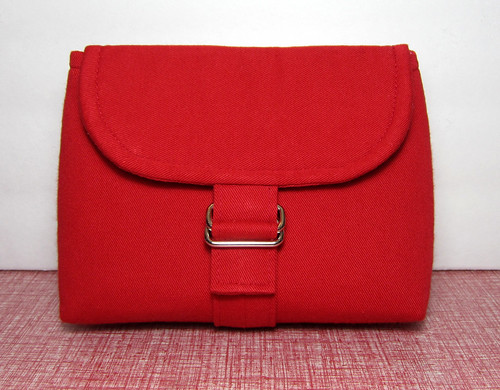
the rings are sewn to the flap, and then the strap comes up from the bottom seam to meet them.
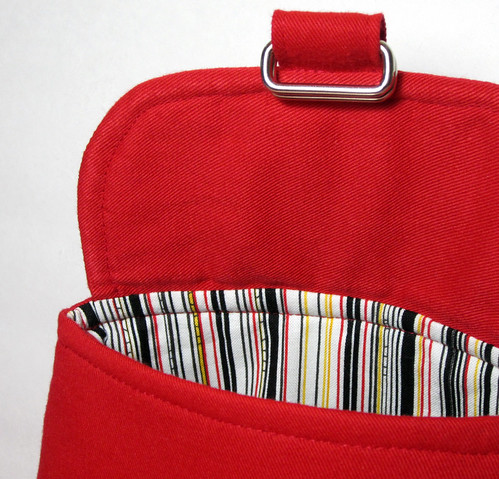
this is lined with a stripe that happened to be sitting on my table. i think it's a Robert Kaufman. it worked perfectly with the simple lines of the pouch.
red pouch #2!
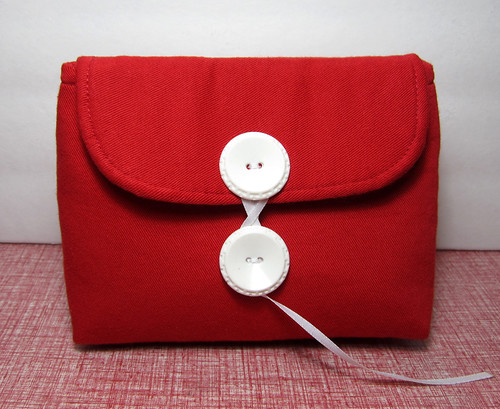
i love vintage buttons, and i really wanted to make a pouch that closed like this!
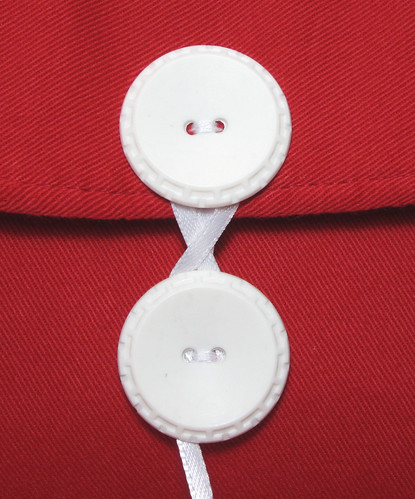
it's like a folio, with two "brads" and a string (ribbon) to wrap around them.
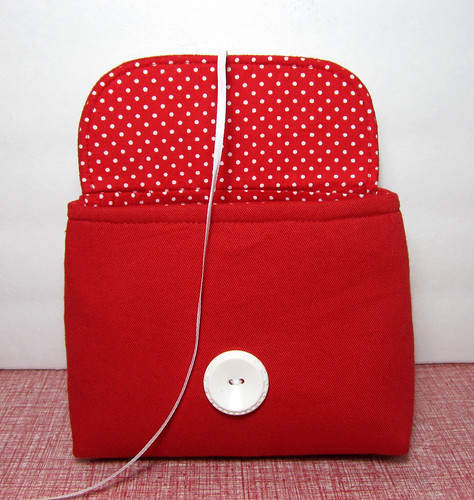
it's lined with a polka dot that was also sitting on my table. i'd say that it's a funny coincidence that i happened to have the perfect prints on my table, but really it's more indicative of how messy my table is!
tucked in behind the other pouches are these two green linen pouches. i really love the colour of this fabric, and i was experimenting with pintucks and pleats on a scrap of it, and decided to use it for pouches. plus, it was on my table. ;)
green pouch #1
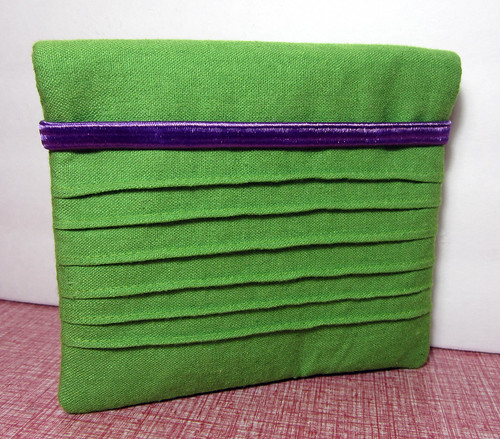
does the elastic look familiar? like... a headband, maybe? that's exactly what it is! i know that most people aren't blessed with the goodness that is Dresssew, and therefore their elastic section, but most folks have dollar stores, right? plus, a pack of headbands is totally cheaper than parking downtown!
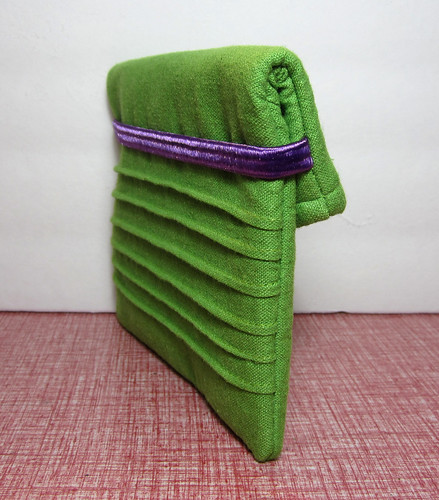
this pouch doesn't have a flap, it folds over on itself to close.
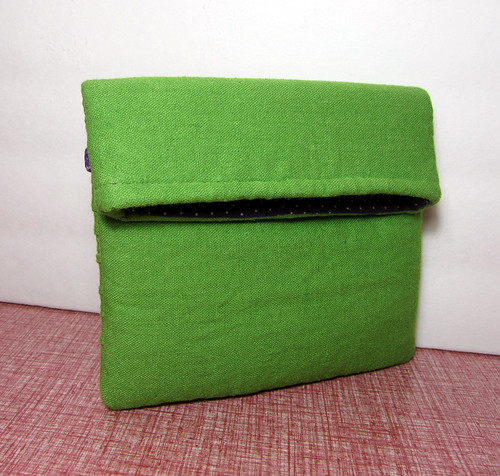
if you wanted to make your lining a bit longer than your feature fabric and have about 1/2" poking out on the back, that would be so fun too!

here's a little closeup. i kind of want to pintuck everything now!
this pouch is my example pouch, because it was originally was going to have a flap....
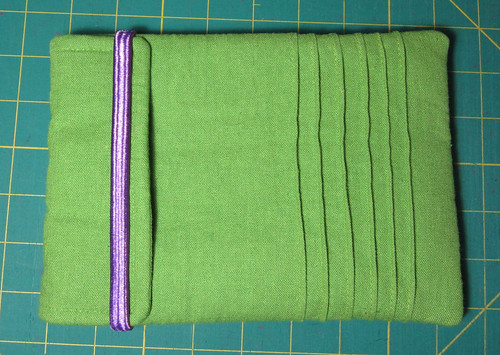
and that is exactly why you should make a sample! the flap wasn't really long enough, once i'd added the stabilizer to the mix, and so it didn't actually stay under the elastic... (it looks like it will, but that is the magic of a photo) in addition that, i didn't trim the stabilizer out of the seams at the top, which added way too much bulk in the seams, and my lining didn't even fit. so! lessons learned - make a sample, and trim your seam allowances!
green linen pouch #2 went much easier!
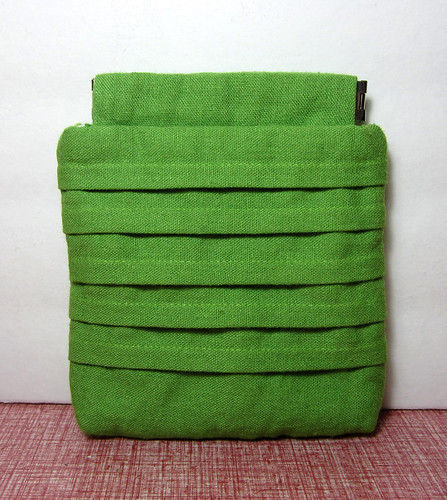
it's a pretty simple little box with two casings along the top to hold the flex frame. i wanted it to be softer than the other pouches, so instead of stabilizer, i used a layer of quilt batting. that way it's not flimsy, but it isn't stiff either.
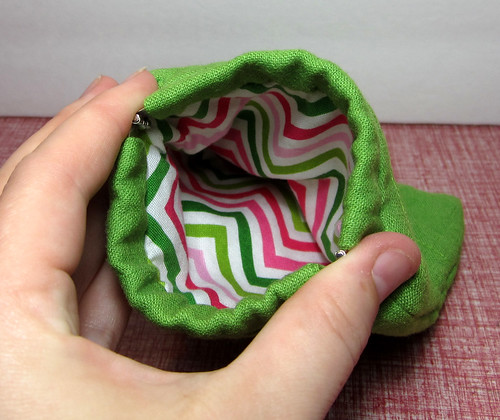
i lined it with this awesome chevron print. am i totally late to the chevron party? i'm totally loving it lately!
the next two pouches were made using this Echino that i'd been hoarding. i made myself a totebag, which i haven't gotten around to photographing, and thought that pouches were a great use for some of the leftovers. they're the same pattern as the red pouches, but i made them a bit narrower. you can really see the difference in the group shot above, especially if you compare the flaps. they're more square, while the red pouches are more rectangular.
echino #1!
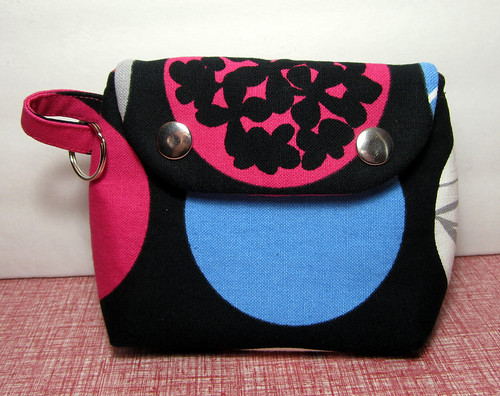
okay, so this pouch came out of me not understanding people. really! folks were talking about snap pouches, and since i always used to use heavy duty snaps on the straps of my vinyl pouches, that's totally what i thought they meant. turns out that they meant metal snap frames... which i just thought of as metal frames. but oh well. i think these snaps are a great closure too! (if you don't believe me, check out the inspiration pics i posted on the VMQG blog post) the visible silver gives a different look - i'm picturing antique bronze snaps with a brown toned print. wouldn't that be pretty?
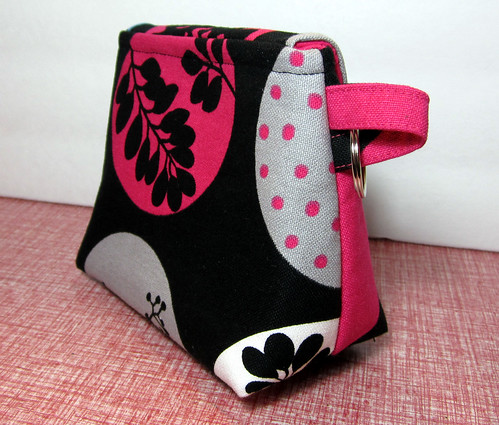
i added loops to these pouches, but because the Echino is a heavier weight fabric, i offset the ends of the strap when i sewed it into the seam. i didn't try to sew that many layers!
echino #2!
i really like this one. i got to use one of my big vintage buttons, which always makes me happy, and the super bright pink elastic. (which is also from the dollar store hair accessories section)
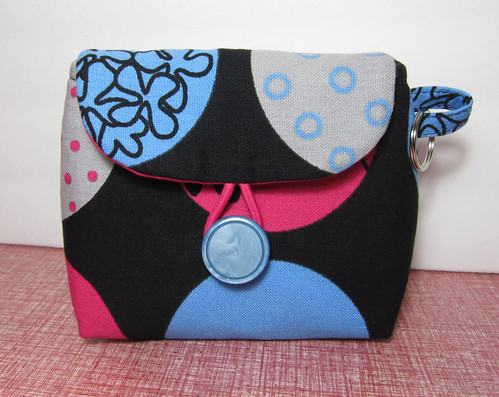
i might topstitch the flap though. hmm. topstitching just looks so good on the red pouches!
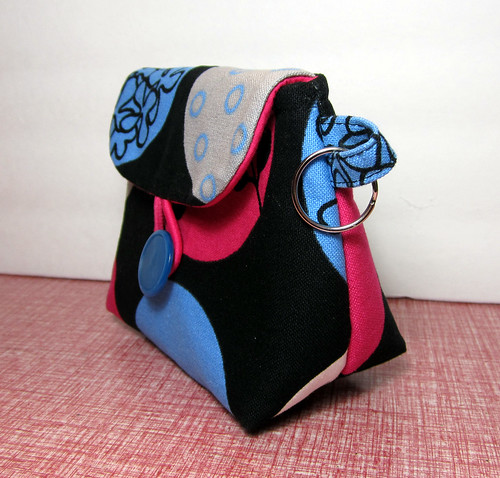
you can kinda see the lining under the flap. it's just a pink cotton solid, nothing too exciting, but it matched really well.
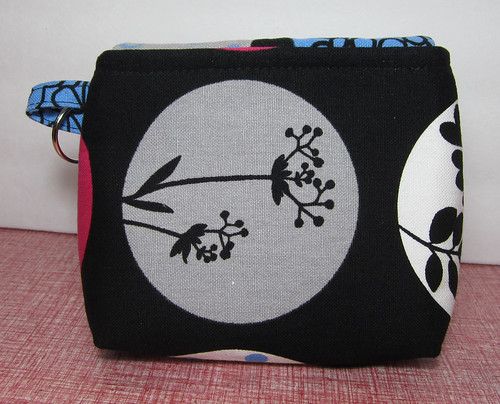
i'm not used to thinking about the nap of fabric anymore, since all i've been doing for so long now is quilts! since i was trying to waste as little of the echino as possible, i lay the pattern pieces sideways. it isn't obvious for any of the other dots, just this grey one with an obviously directional print! honestly though, i'm cool with it.
and i've saved the best for last! echino pouch #3, the eensy edition!!

omg, i LOVE this pouch. seriously, LOVE. lookit how cute it is!
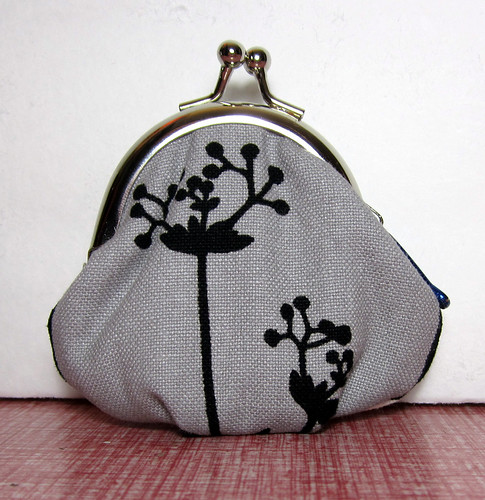
the pieces fit into the circles of the echino fabric, so the front and back are drastically different - but the same fabric!

i used a pattern that i found here (the puffy version, obviously), though i had to size it down slightly to fit into my frame. however! learn from my mistake! there was a pattern in the package for the frame! i didn't open it until i got to that point, so i didn't know! next time, i'll use the provided pattern for the upper part that fits in the frame, and use this puffy pattern for the body.
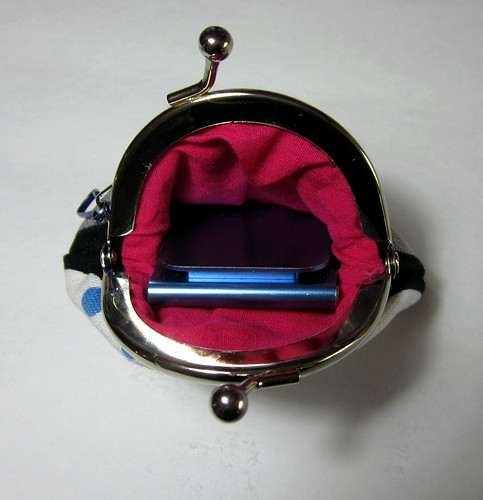
it perfectly fits the stupidly tiny IPOD Nano that i got for christmas (it's way smaller than my sadly departed 2nd generation nano), and keeps it from turning itself on and killing the battery in my bag (my old one had a lock button. can you tell i want my old one back!? i'm still bitter that it died) it's lined in the same pink cotton as the other echino pouches.
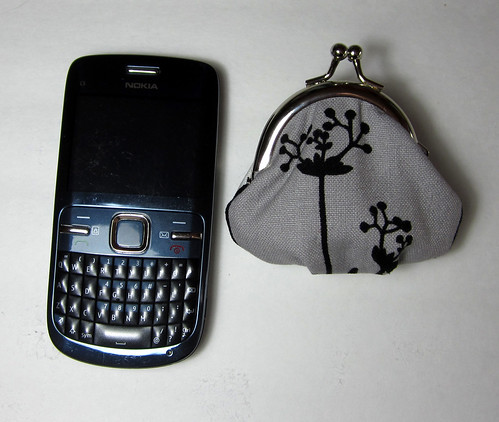
it's tiny! here it is next to my phone, just for size comparison (and no, i haven't caved and got a fancy one yet! do you know how late i was to the ipod trend?).
these metal frame pouches are sO EASY. seriously! we all think they're scary, no doubt in a huge part due to how expensive the frames can be, but they're so easy and fun to do. i kind of want to make a ton of them, but i have no idea what i'd do with them, they're so little!
i used a different kind of glue that what everyone else recommends, and i'm going to tell you about it, cause this shit is the bomb. no, really. it's that awesome. it's called Glossy Accents, and it's made by Ranger, who make inks and stuff for scrapbooking. i have it from when i was doing mixed media, and i've honestly used it for so many things. it dries clear, and shiny (um, it has the word glossy in the name), and it's super strong. it'll attach heavy-ass-shit to canvases and assemblages, and i haven't really come across a situation that it doesn't work for. i pretty much use it every time they tell you to use super glue. but unlike super glue, it doesn't dry out completely (i use a pin to clear out the nozzle), and it doesn't damage plastic (super glue turns some plastics cloudy). i've probably had this bottle for 5 years now, and it's still more than half full. it has a great applicator tip, it's non-toxic (unlike a lot of glues) and it dries fairly quickly, and it's available anywhere you can buy scrapbooking store - ie, the big name stores with 40% off coupons! i have no idea how well it would wash, but that's irrelevant for a coin purse anyway. it's totally a kick-ass product.
whew. that's the end of this extremely long post about pouches. thank you if you read this far! which one is your favourite? okay, which one other than the coin purse, is your favourite? ha! suggestions of what to do with them are welcome, now i have too many pouches!
in other news, thank you to everyone who voted for me in the Play Mini Quilt Competition! i came in third for most popular, which frankly kind of blows me away. there were some really amazing mini quilts made! even though i didn't win any of the awarded prizes, the Random Number Generator was very kind, and i won a random prize! yay for a gift certificate for FABRIC!
i'm linking this up to Fabric Tuesday at Quilt Story and Manic


10 comments:
Very impressive pouches there mate! Love the little coin purses at the end, I have been wanting to make one of these for ages. I have all the gear but no confidence to make them, seriously are they that easy?
I adore the echino #1!
I hopped over from the sew happy geek linky party and I now follow your blog
Beautiful, Amy! They look super professional.
Wait, WHAT, you made those?!! LOL, well of course you did, they just look impressive and well sewn they could be sitting in a display window at a department store. They look fantastic! I especially love your "preppy" little red purse. :)
OMG you're like a pouch-a-matic machine! Totally fabulous pouches, Amy. And I love your experimental exploration of different closures. Really great tips and info. You rocked it!
Wow what awesome pouches! You really went to town making them all.
I think you should 1.Send and Echino pouch my way. 2.Sell the others in an online shop. 3.Have a small giveaway for 1 or a few. 4. All of the above =D
I'm having a giveaway on my blog. Feel free to stop by and enter (if you haven't already) =D
http://ibescheraldine.blogspot.co.uk/2012/06/official-150th-post-giveaway.html
p.s your word verification is still on.
These are all so gorgeous! I haven't tried to use the purse frames yet but After seeing your I think I should.
Omg. You have been busy an d they are all absolutely gorgeous!
This post is made of win. I love it all. ALL. I may have to steal your pintucks idea. Just saying.
They are all so lovely!! Beautiful. Stopping by from Quilt Story's linky party.
Here is what I shared this week: http://craftybrooklynarmywife.blogspot.ca/2012/06/kids-roll-up-nap-blanket.html
Post a Comment