
i promised you a tutorial!
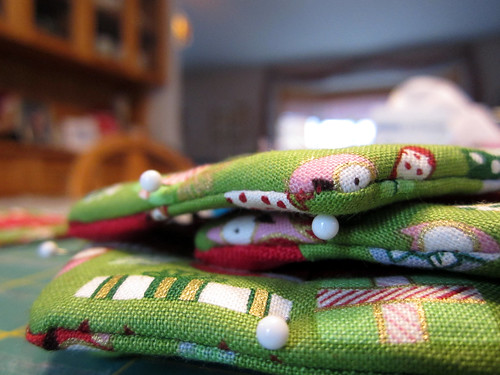
here, it is, finally! wanna make some coasters?
they're easy, they're quick and they're cute, perfect for last minute hostess gifts! or maybe you're one of those always prepared people? whip some up for next christmas, while you're still in a festive mood - imagine that, having presents for next year before 2011 even ends!
you'll need:
- your main fabric
- accent fabric for the centre hexies
- fabric for the backs of the coasters, either a single piece or scraps to piece together
- cotton batting
- 505 spray adhesive
- thread to match the main fabric (optional)
- thread to match the accent fabric
- sewing machine with a walking foot
Step One:
- Print out the hexie templates available HERE and HERE. (right click on the original sized template to save it) You'll only need one coaster template, no matter how many coasters you make, but you need one hexie template for each coaster. i think 6 is a good set, but if you're a small family, you might only make two or three. or if things tend to get lost at your house, you might want to make more!
- Cut them out so that they're ready to use. note that the seam allowance is included on the coaster piece, but not on the applique piece - but don't worry, if you follow the directions, you'll be fine!
- Pin the coaster template onto your main fabric and cut out as many coasters as you'd like to make.

if you're using a directional or geometric print, you'll need to cut them carefully to ensure that they're all straight.
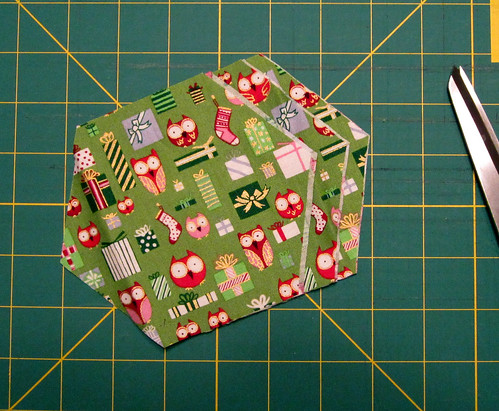
but if it's an all over print, feel free to fold your fabric and cut multiple layers at once.
Step 2:
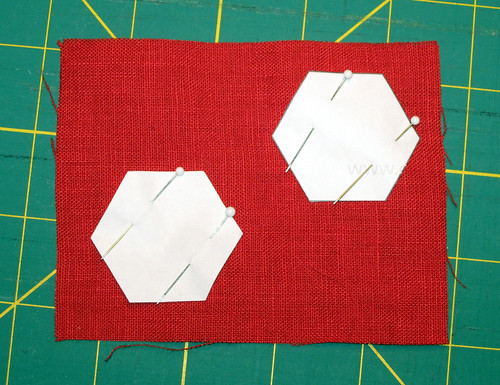
- Pin the small hexie templates onto your accent fabric, spacing them out so you'll have enough seam allowance for each one.
Step 3:
- Cut out your hexies, leaving at least 1/4" around each template.
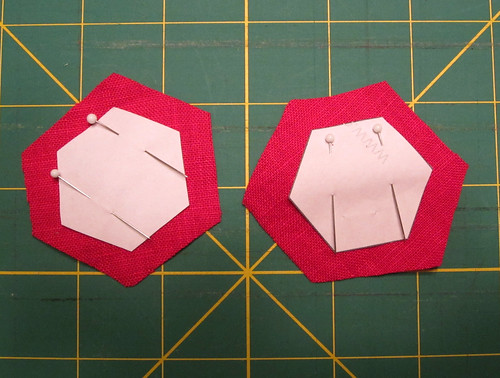
depending on your fabric, you might want to leave more than 1/4" for seam allowance. for these, i weas using a linen that is a bit looser weave than regular cotton, so i left a bit larger seam allowance. better safe than sorry, right?
Step 4:
- thread a hand sewing needle with any colour of thread, because you're only basting here, and knot the end of your thread. (it's the perfect time to use up the ends of bobbins!)
- baste the seam allowance to the back of each hexie. i leave the pins in from cutting them out, and start on an edge where i can fold the allowance over without having to remove the pins until i've basted at least 2 sides.
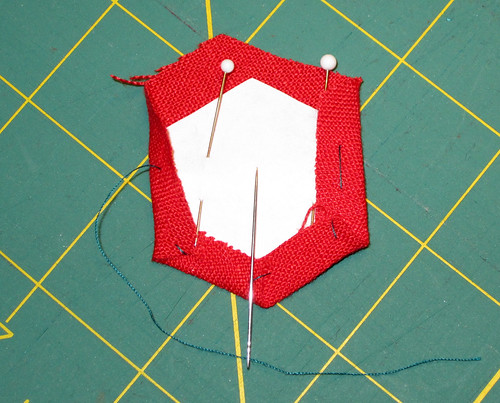
you don't need to do a ton of basting stitches, usually just the corners will suffice.

once you've basted all of the sides, make a small knot, clip the thread, and move onto the next one!
Step 4:
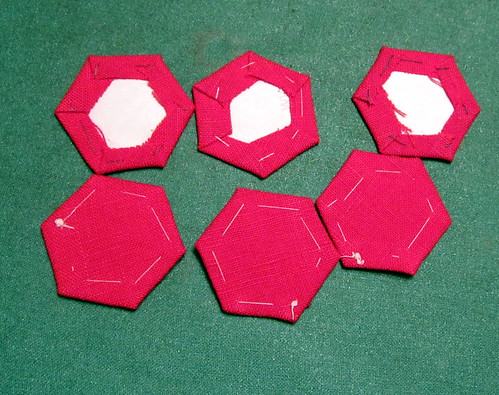
- press the crap out of them, and set them aside. if you're worried about scorching your fabric, use a press cloth, but make sure that you press them well.
i should note that this is just how i make hexies. if you google "english paper piecing tutorial", there are TONS of them out there, including videos.
Step 5:
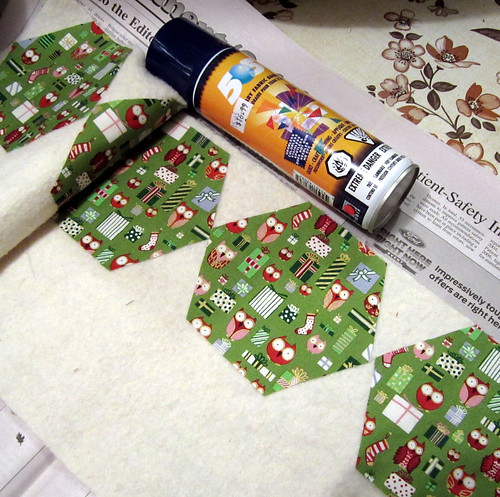
- Grab your 505 spray (or some other brand, but honestly, i haven't found any others that compare), a piece of newspaper or something else to protect your table, your cut out main fabric pieces, and your scraps of cotton batting.

Step 6:
- Spray a portion of the batting, and smooth one of the coaster pieces onto it. Move on to the next piece, protecting the one you just glued down with another piece of newsprint or scrap paper as you spray. Continue spray basting until all of the pieces are adhered.
Step 7:
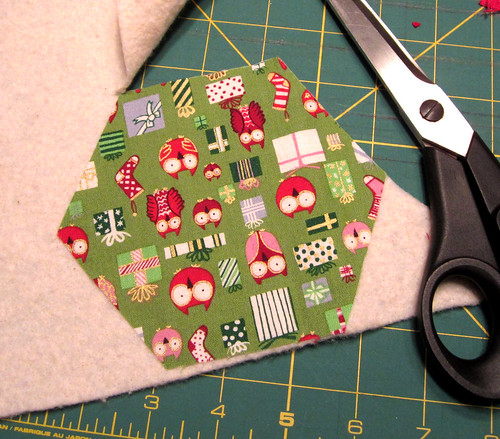
- Cut out the pieces that you spray basted onto the batting.
Step 8:
- Take the basted hexies that you set aside after step 4. carefully remove your basting stitches and slip the paper template out.

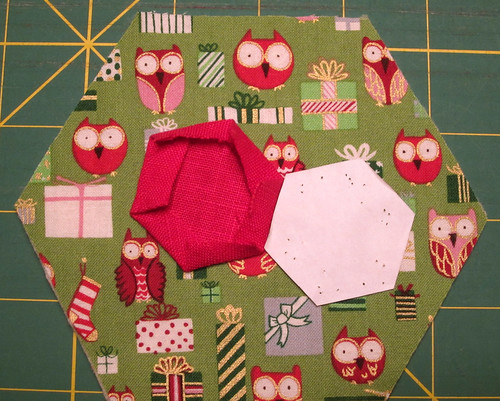
because you pressed the hell out of it, the folds should stay when you remove the paper template.
Step 9:
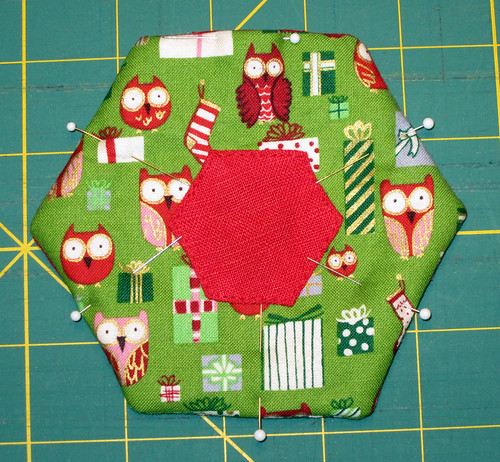
- Line a hexie up on the front of each batting and main fabric piece. you can eyeball it, but i use a quilting ruler to make sure that it's an equal difference from each edge.
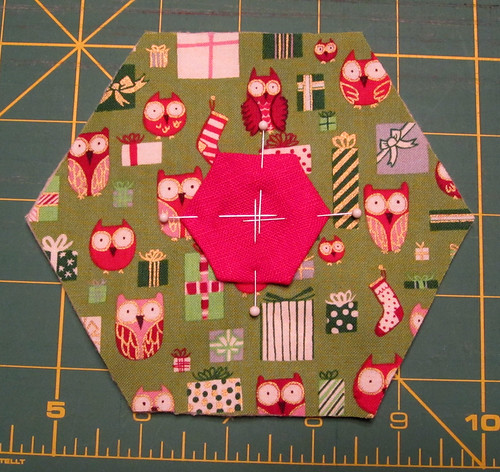
once you're happy with the positioning, pin the hexie in place.
Step 10:
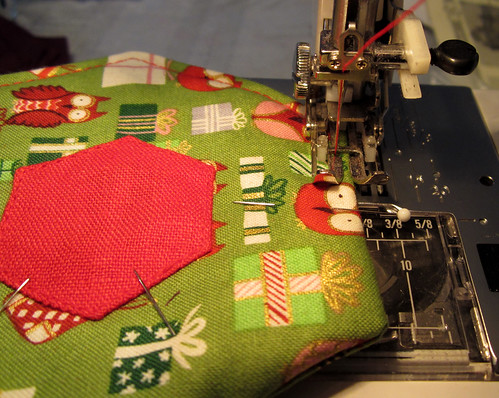
- Thread your sewing machine with thread to match the applique hexie. using a moderate stitch length, stitch the hexie onto the main fabric/batting piece. stitch close to the edge of the applique hexie, and backstitch a few stitches at the beginning and end. if you'd prefer to not backstitch, just pull your threads to the backside and knot them off, but i hate doing that unless i really really have to! repeat until all of the hexies have been appliqued onto all of the coasters.
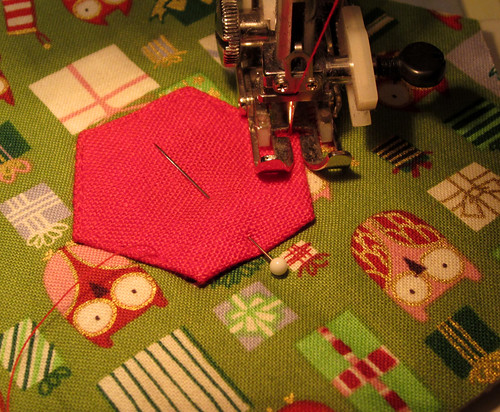
i found it easiest to adjust the needle position on my machine so that the edge of the hexie lined up with an edge of the walking foot.
Step 11:
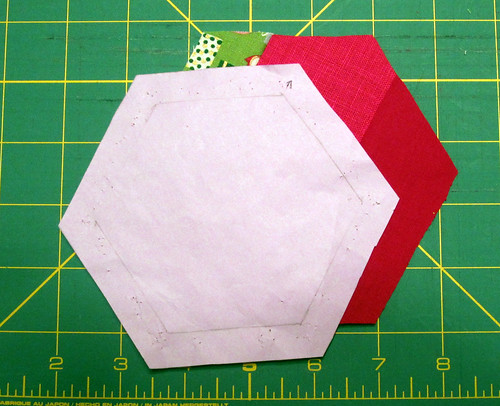
- Using the same template pattern that you used for the main fabric, cut out a back piece for each coaster. you can use a single piece of fabric for your backing, or you can stitch together strips of coordinating fabrics and cut your pieces out of that.
Step 12:
- Place a back piece face down on the appliqued front and pin around the edges.
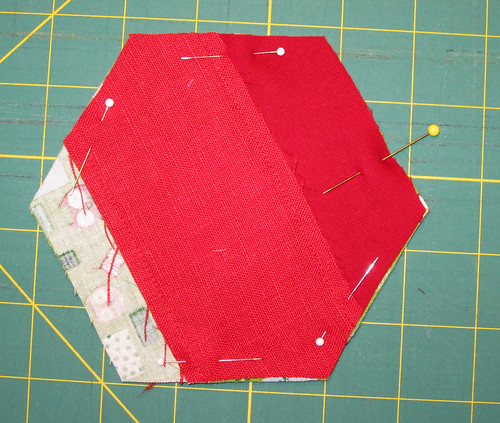
see the yellow pin? pay attention that that!
Step 13:
- If you'd like, set up your machine with thread that matches your main fabric. since my backs were also red, i just stuck with the colour i used for the appliques. start stitching at least 1/4" away from a corner (start where the yellow pin is on the photo above!), and stop a similar distance from the other corner, leaving a space to turn the coaster right side out. use a seam allowance of aproximately 1/4", but it's not the end of the world if it's not exact. i lined mine up with the edge of the walking foot.
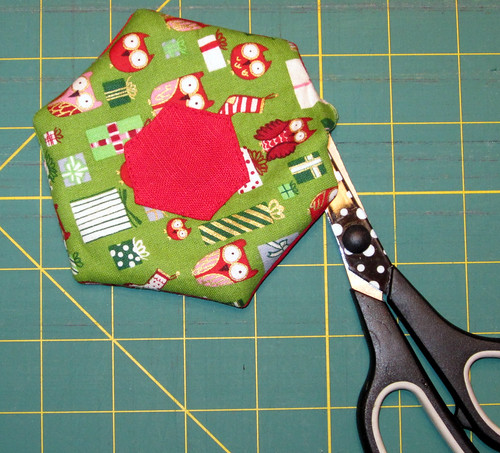
Step 14:
- Once all of the fronts and backs are sewn together, clip the corners of each coaster. we're doing this to reduce bulk within the seam allowance once the coaster is turned, but be careful that you don't cut your stitching.
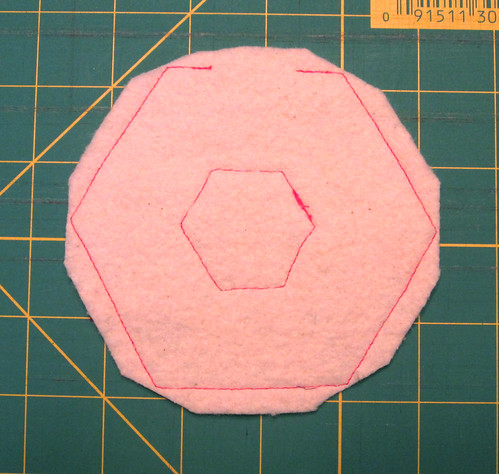
Step 15:
- Turn your coasters right side out. i use a pair of scissors with rounded tips to push the corners out.
to stop myself from pushing the tip through the fabric, i only push from the front, where there's batting to help cushion it.
Step 16:
- Finger press the coaster flat, and turn in the edges of the opening you left. pin the opening closed, and add a pin to each edge to keep the coasters flat and even.
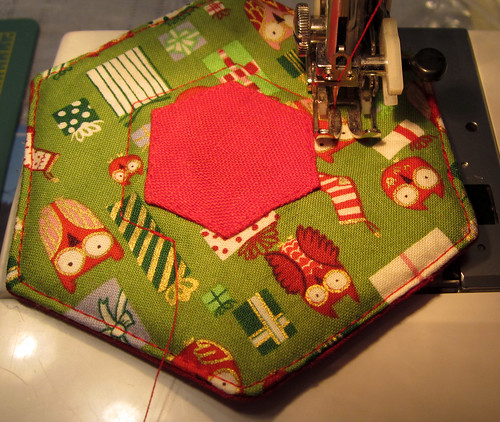
Step 17:
- Using the thread that matches your applique and that contrasts with your main fabric, sew all the way around each coaster. try to sew close to the edge, to make sure that you catch the seam allowances of the opening and stitch it shut.
once again, i've adjusted the needle position on my machine so that the edge of the coaster lines up with the edge of the walking foot.
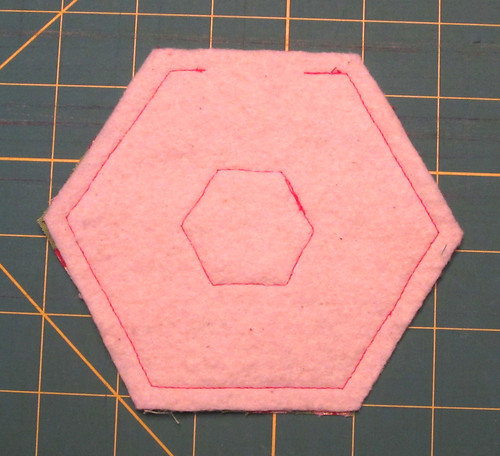
Step 18:
- After you've stitched the edge of the coaster, move to the middle of the coaster and stitch around the appliqued hexie, about 1/4" away from the hexie.
Step 19:
- Now we're going to fill in the remaining two lines of quilting. you might want to test this on one coaster, maybe even machine baste a few lines, because i really just spaced out my lines of quilting based on needle position. if you're really worried, you could use chalk to mark your quilting lines, but then you'll have to wash it out.
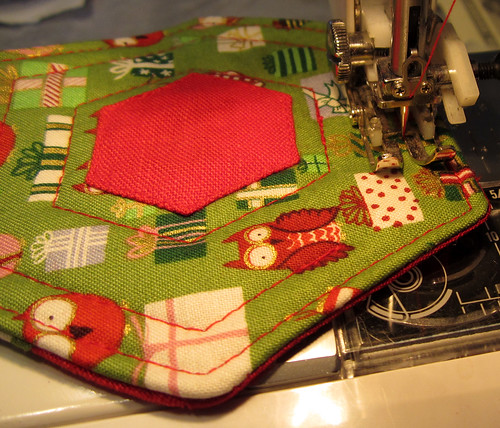
i did one line based on the outside line of stitching, and then centred the last line between the one i just did and the line that echos the applique.
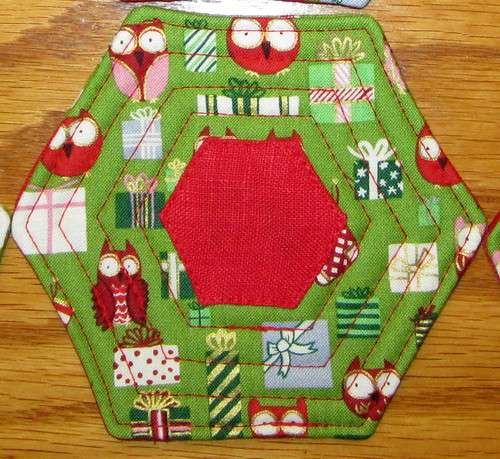
(that sounds confusing to say, but i think it's pretty straightforward when you look at the photo.)
Step 20:
- Pour yourself a drink, cause you're DONE! Didn't i tell you that they're easy-peasy?
whew! did you follow all of that? it's been a while since i've written a tutorial, and technical writing is definately not my forte - which i'm a-ok with, cause technical writing is always a bit boring, don't you think?
let me know if you have ANY questions, and if you make a set of coasters, show me! i wanna see!
2 comments:
Great tute! I will have to add this to my to-do list!
Cute coasters, Amy! Your tutorial looks great and you've covered every detail.
Post a Comment