these are super quick and easy to do, despite what my millions of pictures may lead you to believe! they're perfect for quick gifts or to add a pop of colour and individualism to a boring kitchen. and they're pretty low cost, using only a small amount of cotton and transfer paper for each towel. the towels themselves can often be found in dollar stores, and i watch the kitchen clearance section at department stores for great deals.
so here's how to make them!
stuff you'll need -
- tea towels, obviously. preshrink them, please!
- white cotton fabric. again, preshrink it!
- a printer
- iron on transfer paper for light coloured fabric (get the one that corresponds to your printer type)
- sewing machine and white thread
- iron and ironing board (or a towel on a table, that works too!)
- pins
- lint roller or packing tape
Step 1

find your images, size them, and reverse them so that they'll transfer the right way (you may be able to skip this step now and do it when you print the page. i flip them in photoshop).
you can use any image you'd like, use google image search to look for pictures with a certain theme, use photographs you've taken, wander through flickr, scan in drawings you've done, or take advantage of the amazing clip art available on the wide wide web. i'm particularly fond of the digital stock art available from Urban Threads, any of them would make amazing towels! keep copyright in mind when choosing your images, which admittedly i didn't do for some of my earlier towels!
open a new document in Word and adjust your margins to make them as small as possible - this lets you fit bigger images on the transfer sheet!
import your images into the Word file and adjust the size. i like to fit 4 images onto each page, the images are the perfect size for tea towels. if your images are more horizontal than vertical, you will want to change the orientation of the page to landscape.
Step 2

print the images out onto iron on transfer paper, following the instructions included with the transfer paper. there are a multitude of brands available when it comes to iron on transfer paper. i personally love Avery, i've had such good results with them over the years. keep in mind that they DO expire. i have a bad habit of continually losing half packs in my studio, and buying more instead of searching because "i'll use them eventually". the folks at Avery say that the sheets should stay good for up to 5 years, my experience is closer to 1 year!
for this example, i was only printing out 2 images, so rather than wasting the other half of the page, i made them a bit smaller than the images in the example above, and i placed them sideways on the page.
Step 3
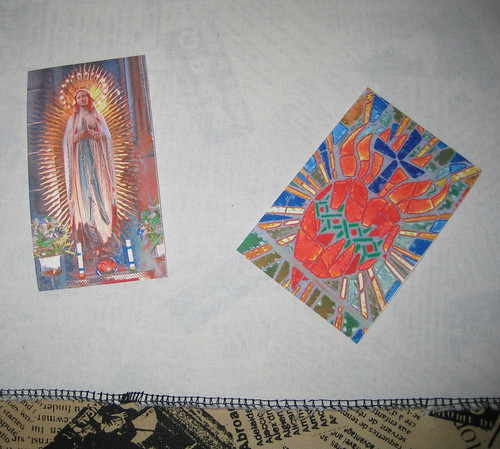
carefully trim around the images and pull out your white cotton fabric. please DON'T buy your cotton fabric from somewhere like walmart! go to an actual quilt shop, and buy it there. it will be a little bit more expensive, but the quality will be SO much better, it's totally worth it in the long run. i have towels that i've had for years, washing them weekly in hot water, and they still look fabulous. i'm convinced that it's because i use a good quality fabric. the better quality cotton is smoother and more tightly woven than the cheap stuff, and the images transfer so much better.
Step 4
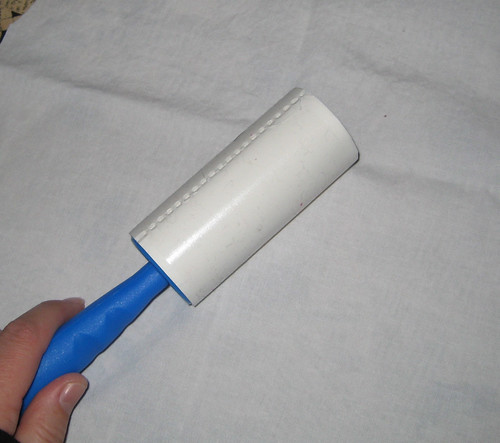
you need the fabric to be completely clear of fuzz when transferring images, so haul out your lint roller, or wrap some tape around your hand.
Step 5
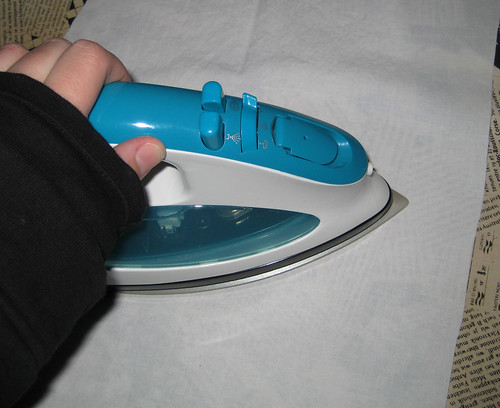
iron your cotton fabric to smooth out any wrinkles and to pre-heat the fabric. it'll accept the transfer better if it's already warm!
Step 6
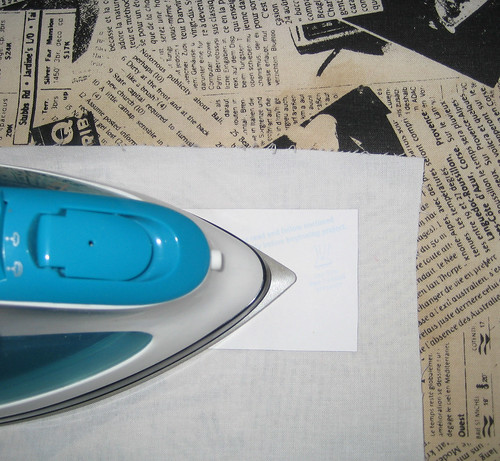
lay the transfer on your fabric and press it on. follow the instructions in the transfer package, which usually say something like "heat iron to hottest setting possible for fabric type. press transfer using a firm strong grip, moving iron over transfer smoothly" i find that i usually don't have to press the transfer for as long as the instructions say, because they're fairly small.
Step 7
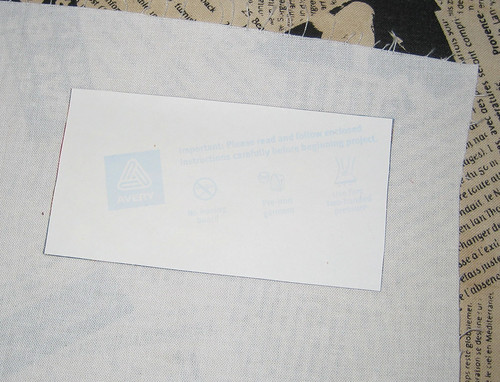
look closely, and you'll notice that the transfer bled a little bit around the edges of the paper backing. that's okay! actually, it's great! that's the sign i use to know when the image is fully transferred!
Step 8
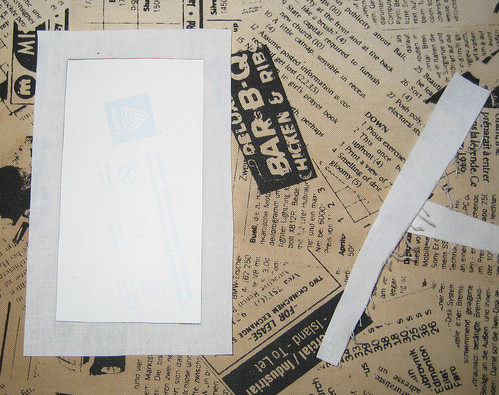
trim the cotton around your transfer. i usually leave about 3/4" around.
Step 9
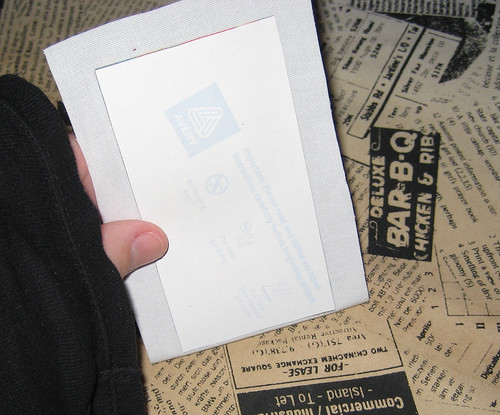
now we're going to fold under the edges, leaving just a very very small amount of the fabric showing in the front. after lots of experimenting and very hot fingers, i've discovered the easiest way to do this! lay the transfer face down on the ironing board, then flip it up, keeping the edge face down.
Step 10
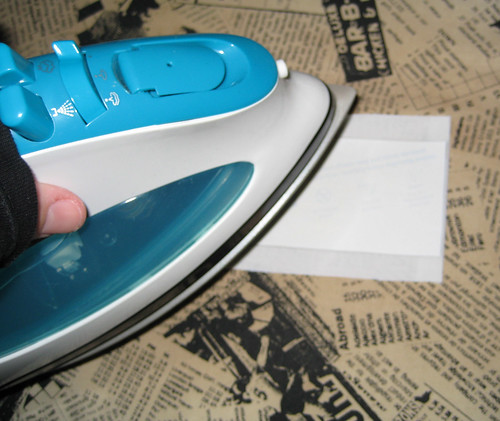
fold the edge over, bringing the transfer to lay face up on the ironing board. it sounds complicated to explain, but it's super easy!
Step 11
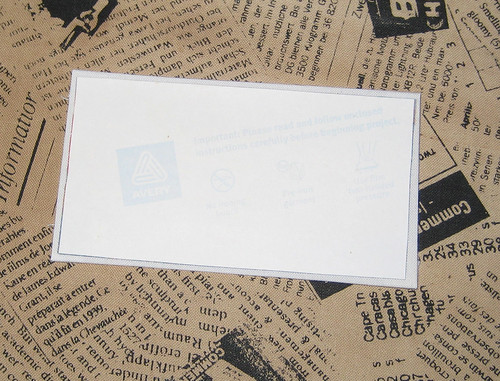
continue folding the edges over until you have pressed all 4 edges under. if one of your edges ends up a little crooked like mine did, just press it out flat and then try turning it under again. no worries!
Step 12
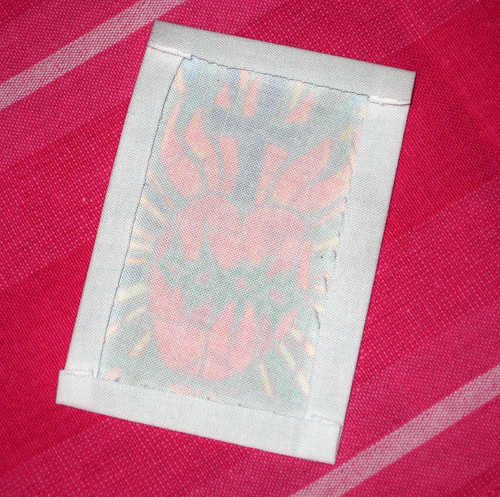
see? all folded under neatly! you can also see the transfer here, it will show through the backside of the fabric. now's a good time to take note of which is the top! you might want to put a little pencil mark there, so that you don't accidentally sew the transfer on upside down! (learn from my mistakes, okay?)
Step 13
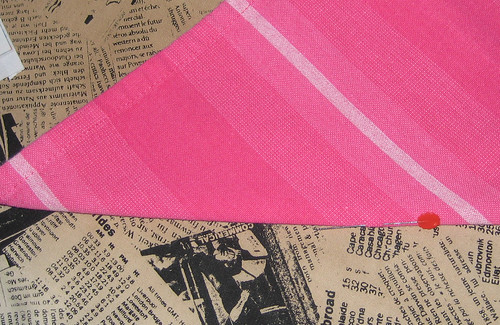
press your tea towel to remove any wrinkles and fold it in half to determine the centre.
Step 14
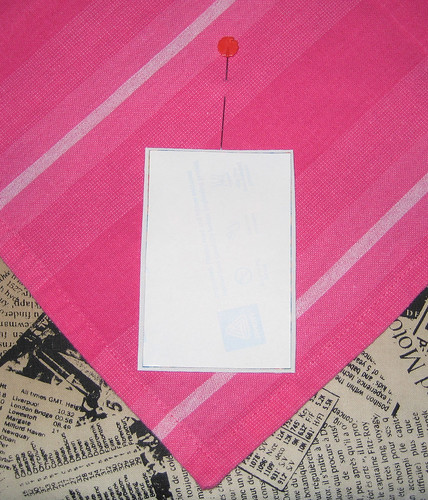
in my example i'm applying my transfer to the corner of the towel, but on the finished towels i posted yesterday, they're all applied in the centre. if your towel is a woven plaid, you're in luck, that makes things easier! if the weave is slightly off grain, feel free to apply your image following the weave, not the actual centre. trust me, it's a lot less obvious that way!
Step 15
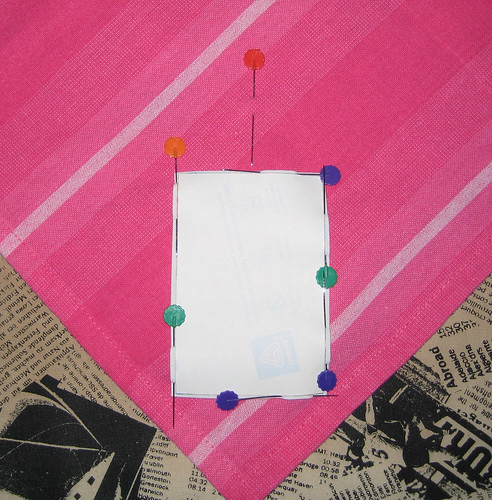
pin your transfer to the towel. don't put your pins directly through the transfer itself, slip them through the little white edge that we left. envision how you're going to sew the transfer on, and pin accordingly. i sew my transfers in a clockwise motion, so i always pin with the heads to the left so that i can easily pull them out when i get to them.
Step 16
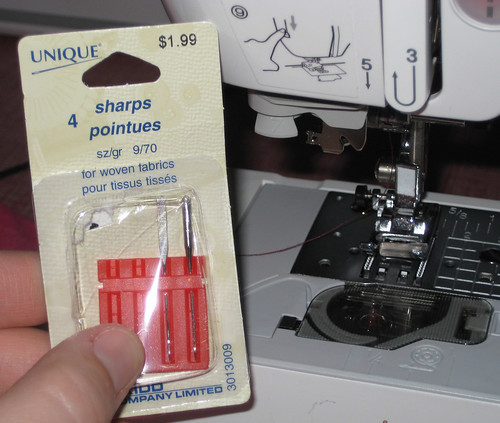
off to the sewing machine! load your machine up with white thread, and make sure you're using a new needle. because we're dealing with a fairly fine woven fabric, we'll be using a sharp needle as opposed to a ballpoint needle, and one in a fairly small size. like i said in the t-shirt sleeve tutorial, i think the sizes are different in the US, but you should still be able to tell which one is smallest!
Step 17
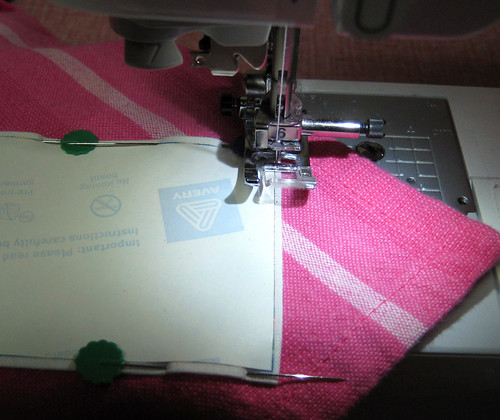
starting a corner, begin stitching around the edge of the transfer, only stitching in the little white edge we left when we pressed it.
Step 18
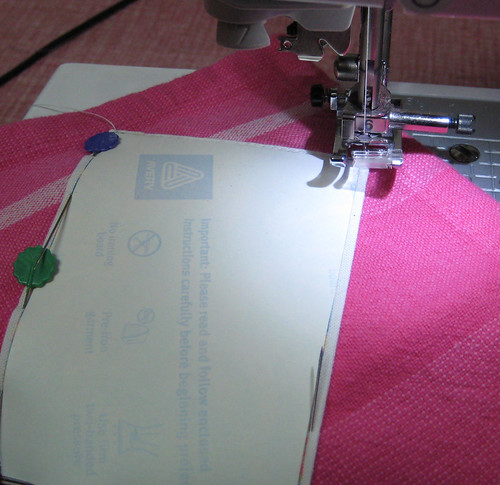
when you get to a corner, lower your needle, lift your presser foot and pivot!
Step 18b
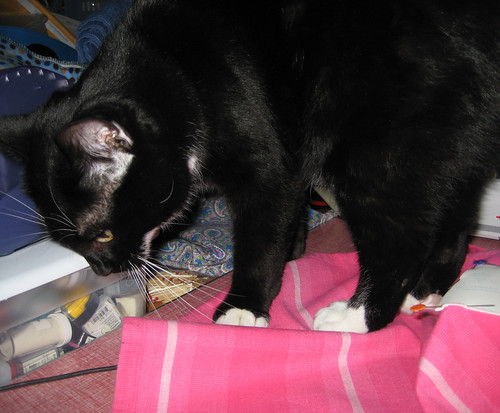
take a quick detour to pet the cat. she's trying to help, can't you tell? jeez mom!
Step 19
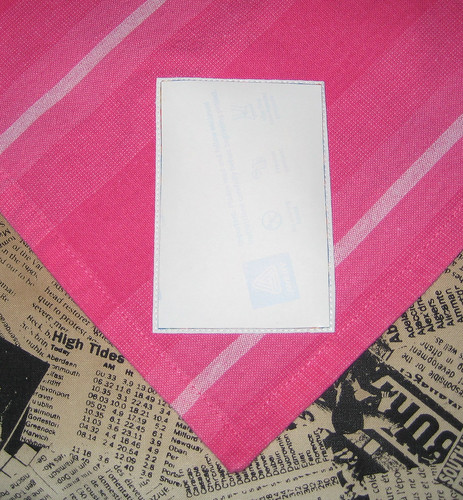
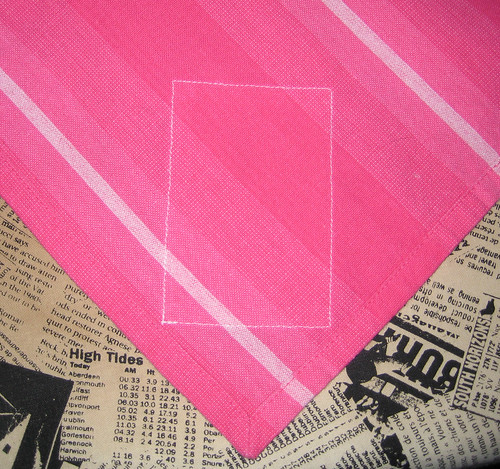
the transfer is now sewn on! because we used white thread on white fabric, the stitching is almost invisible and doesn't detract from the transfer at all. i prefer to use a white bobbin thread. if you try to match the bobbin thread with the towel colour and the tension on your machine is off even the slightest, the coloured bobbin thread can show through on the front. besides you'll rarely see the backside of your towel when it's hung anyway!
Step 20
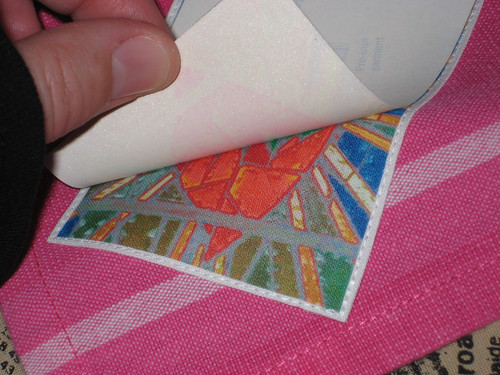
now give the transfer another quick press, because this will be the last time you'll be able to apply heat to it. starting with the corner, peel up the protective paper.
Step 21
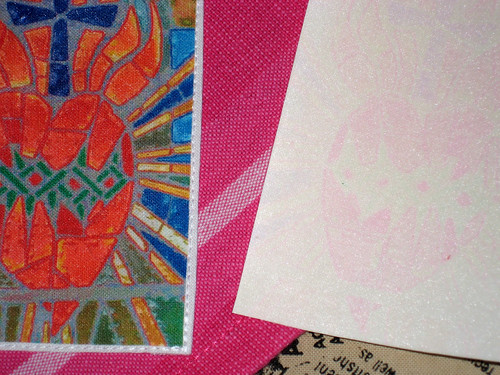
when you've got a good quality transfer, it will come off smoothly, and will leave a slight "ghost" image on the protective paper.
Step 22
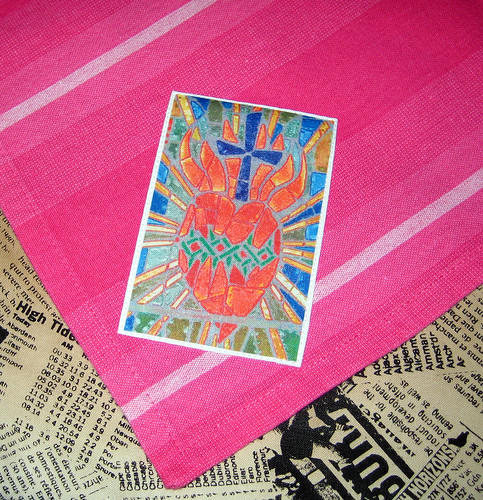
not really a step, because you're done! wasn't that easy? now go make more them!
i hope you liked the tutorial! i love comments, please let me know what you think, or if you make some, or what your ideas are for your own towels!

14 comments:
oh wow this is wonderful!! Now I just need to get a printer!! hahahah
thanks!
kinkos can print onto iron on transfers for you! call them and see if they'll let you print onto some that you bring in yourself, or if you have to buy the ones they carry. i can't remember which it is.
i LOVE my printer though! it's a scanner/printer/copier combo, and we found it on a really good sale. i use it constantly, for so many things, and now i can't remember how i made stuff without it!
That is so awesome. I must get some iron-on for the printer to try it.
I really like step 18b. lol
thanks! i love iron on paper, definitely go get some to play with! i have a few other projects that i use it for that i'm going to try to get tutorials written up for too.
yeah, she likes to help. she likes to help type too. good thing she's cute!
that's a great tutorial! very detailed.... will have to add it to my list of things to try!
Very cool!! And great tutorial!!!
thank you both!
dot, you definitely need to try it!
cynthia, it would so awesome to make towels with some of of your paintings on them!
This is a great tute! I've tried the transfer paper before, but didn't get it right! I'll have to get some and try it again! By the way, I nominated you for a blog award! Check it out here.
http://inspiringadventuresofalwaysinspired.blogspot.com/
thanks so much alwaysinspired! you should definitely play around with it some more, it is so cool!
thanks for the award!
i love heat transfer. Wicked towels!
thanks urban craft! it's definitely a quick and easy project too, perfect for "novice crafters"!
This is a fantastic tutorial! I love all the pictures and explanations. And your work looks very polished and professional too. Great job!
Just wanted to let you know, I'll be linking to this tomorrow on Dabbled.org
dot
thanks dot! i hope your readers enjoy it!
Post a Comment