i was partnered with the amazing (and sometimes scary) amaryllisroze, and she sent me the most gorgeous tin!
it arrived all wrapped up in this awesome black cheesecloth
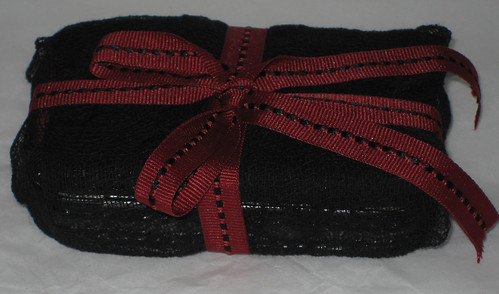
front
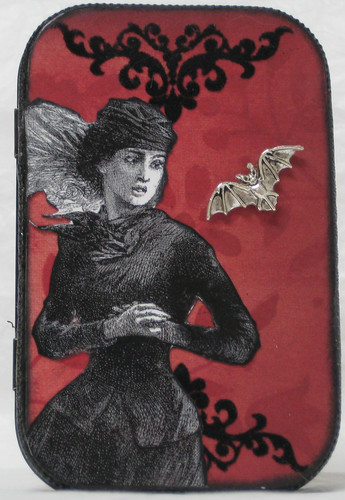
back
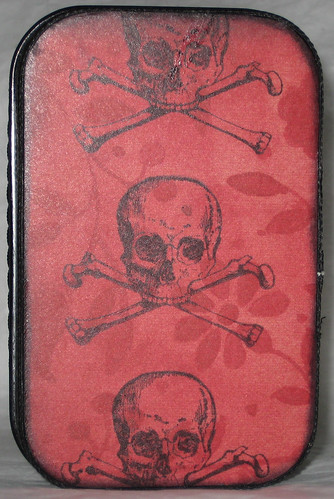
side
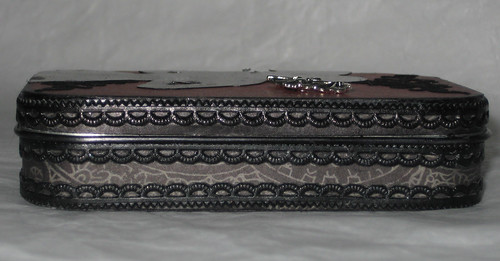
inside full
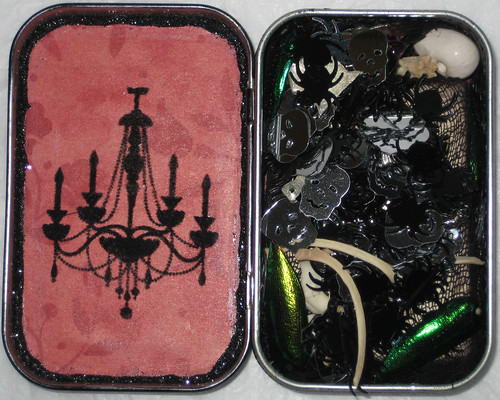
inside empty
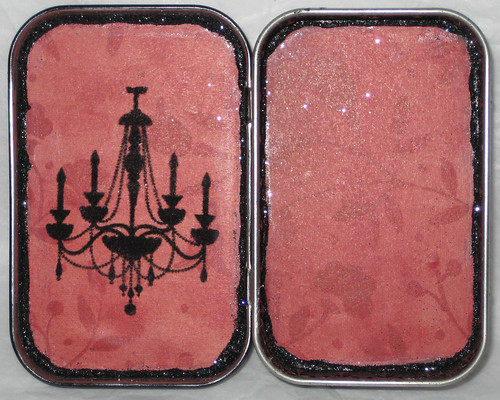
inner wall
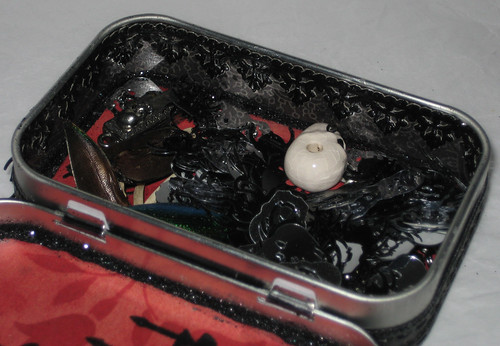
all the goodies that were inside
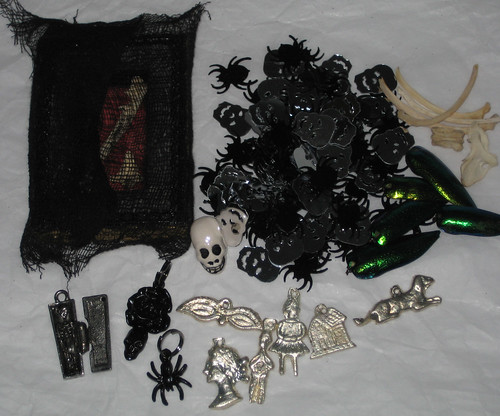
charms
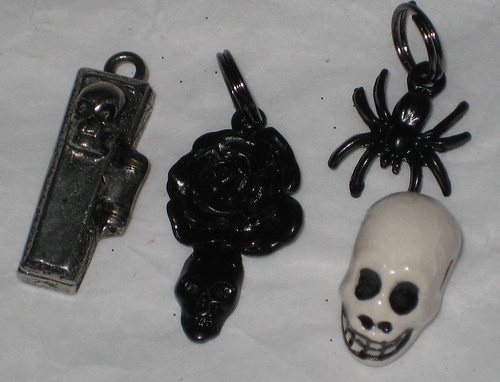
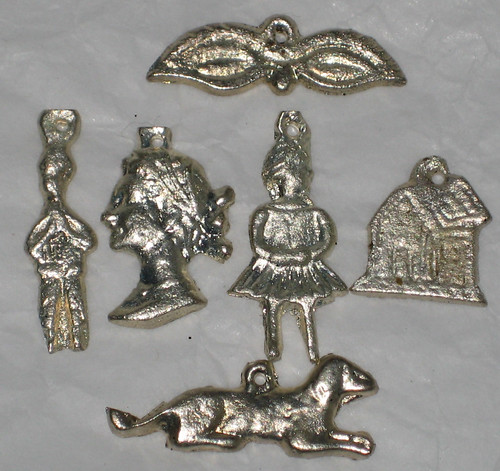
milagros
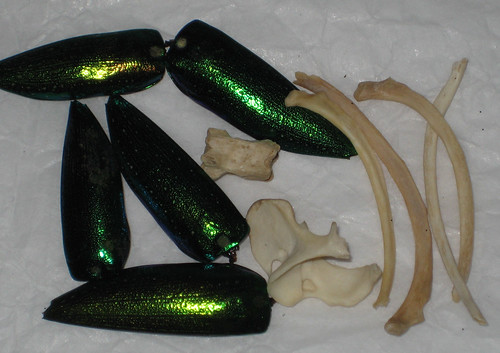
weasel bones and beetle wings!
and the amazing mini-shrine
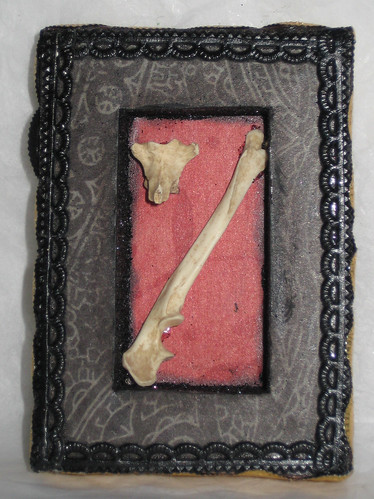
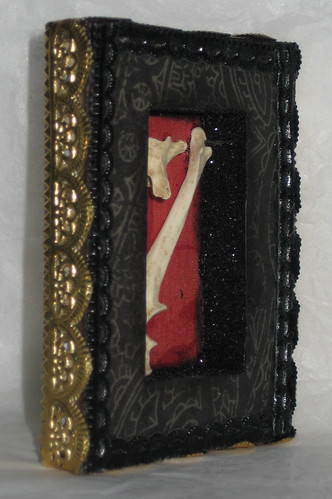
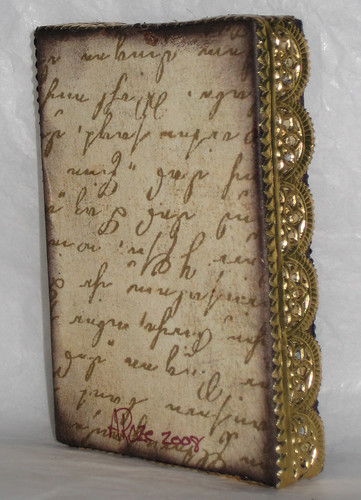
isn't it gorgeous? she sent me such a lovely tin!
and this is what i sent her! this too was a bit of a saga - remember how i mentioned a few weeks ago that EVERYTHING i was working on was a bit of an epic battle? ESPECIALLY this!
so.... the first thing i did with my altoid tin was paint it. BIG no-no! racky warned me, but i decided that a few thin coats of spraypaint wouldn't be that big of a deal....
so i decorated the tin, front, back, sides, interior, and it was looking pretty damn fabulous, if i do say so myself. and then i went to close it.
i couldn't get it closed. argh! so i hauled out the sandpaper and started sanding the paint off the sides. after working on it for what felt like ages, i managed to sand off enough paint to get it closed.
and then i tried to open it again. argh! i fought with it for almost an hour, even using pliers and such to try to get it open, spraining my thumb in the process, no luck at all. i went to bed pretty much resigned to the idea that i'd be making another tin in the morning. thankfully, i woke up, and my dad had managed to get it open (with his bare hands, no less! i am such a weakling)!
obviously, there was more sanding to do if i wanted to salvage this tin. so i hauled out my dremel, and my sanding attachments, went outside, and started at it.
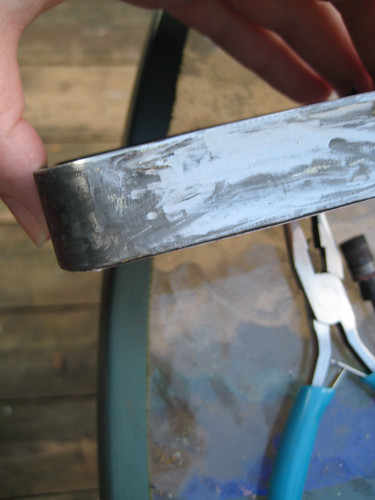
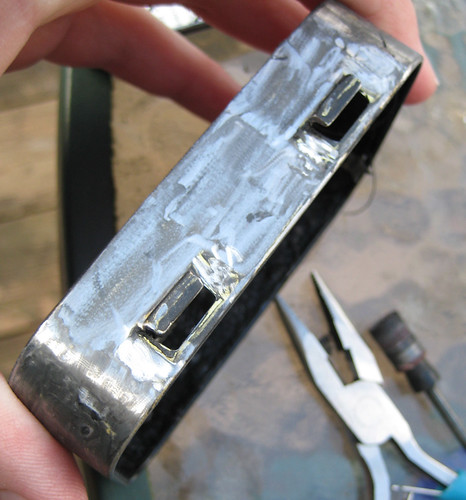
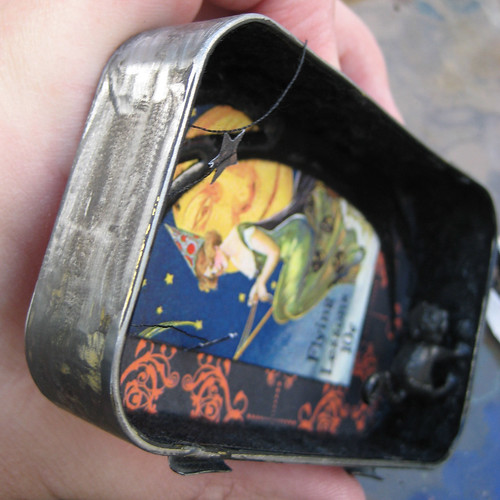
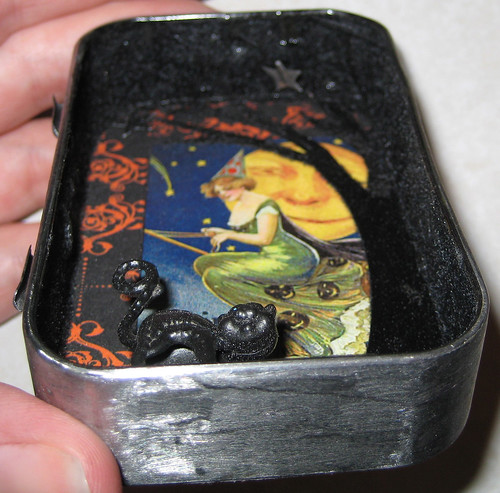
the dremel worked pretty slick, but it damaged the awesome (flocked!) paper on the inside of the lid, because i needed to get in really tight to sand the paint off.

and unfortunately, the dremel made the tin really hot, as i discovered when i burned my finger on it (injury count now 2!). and after i'd finished dremeling, and was hand sanding just to tidy it up, i realized that it had actually gotten so hot that the glue i'd used to apply the flocking on the inside of the tin had BUBBLED!
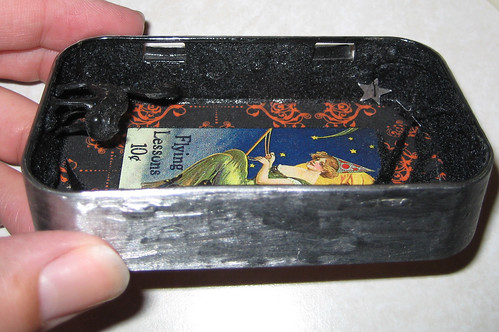
but at least it would open and close!
so here's the end result, which turned out really well, once i dealt with all the problems!
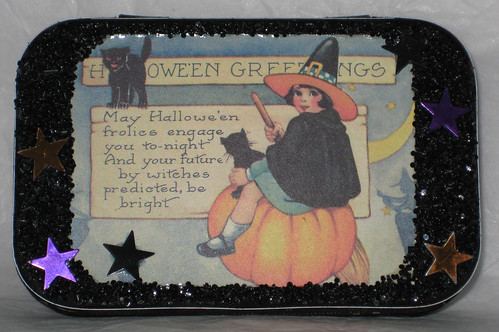
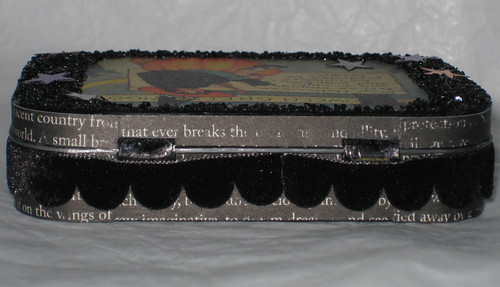
the top. a-roze likes a more vintage halloween style, which i'm not as into, and therefore i didn't have much along the lines of imagery. i found a booklet of images at the cheesy scrapbooking store, and this one seemed perfect. it's surrounded by black glitter and some metallic stars.
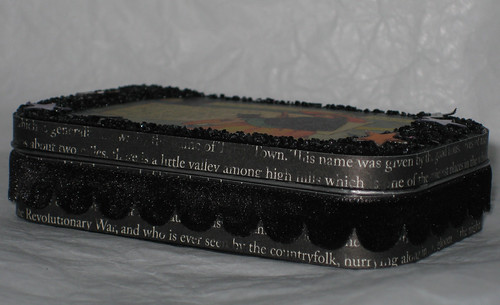
the sides. the paper tells the story of sleepy hollow and i added black velvet scalloped trim, and it was perfect!
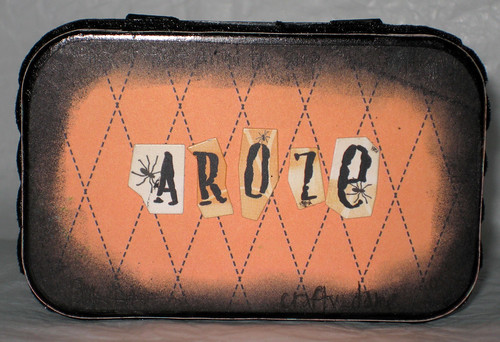
the back. it's not quite as perfect as the back of the tin a-roze made, but i thought it turned out okay for my first try!
the bottom
and the inside, which i honestly love.
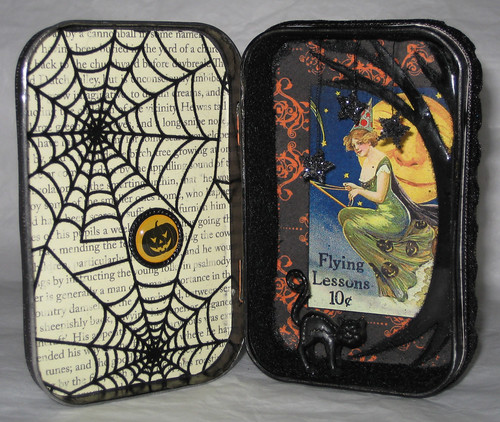
the web side - flocked spider web making memories scrapbooking paper, halloween brad

the witch side - vintage image,dangling glitter stars, embossed spooky tree, flocked sides of the tin, and small plastic halloween cat.
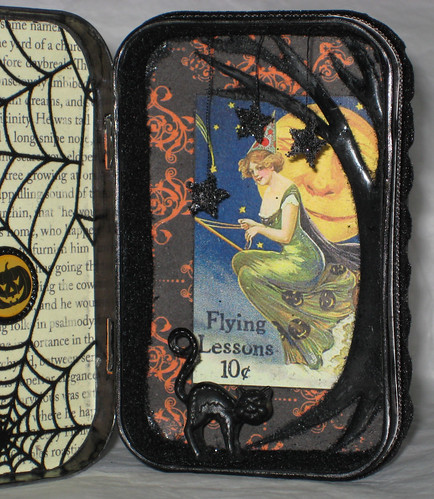
to cover up the bubbled flocking, i cut a strip of black paper to fit the inner walls, and flocked it. once it was dry, i glued it over top the ruined first attempt. it was MUCH easier than the way i did it first! i was really proud of the embossed tree too. i didn't have a tree stamp that would work, so i cut the design out of plain black cardstock and stamped the entire thing with the embossing pad. it worked really well, i'll probably make things that way again.
and here are the things i put inside it!
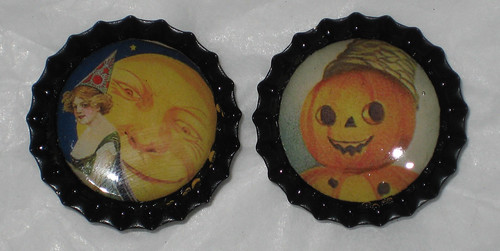
two magnets. vintage images in black bottlecaps (spraypainted black), glossy accents on top
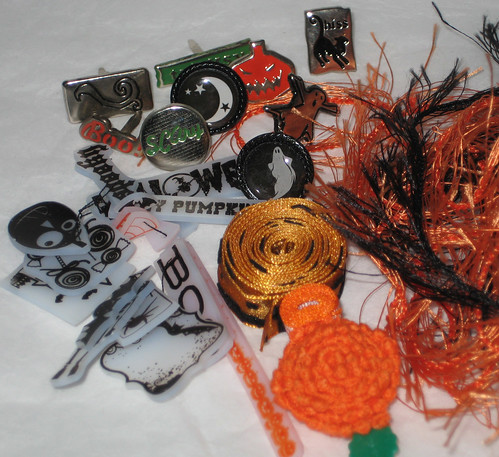
ribbon and trim coiled and lined up on a pin, orange and black fiber, halloween brads, shrink art pieces for future art projects stamped with stazOn ink and various halloween stamps
and my favourite, the little altered book.
i started out with a little board book that i found in a thrift store last summer.
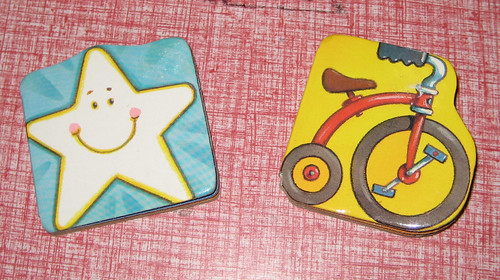
it was really teensy, as evidenced by how it fit in my hand!
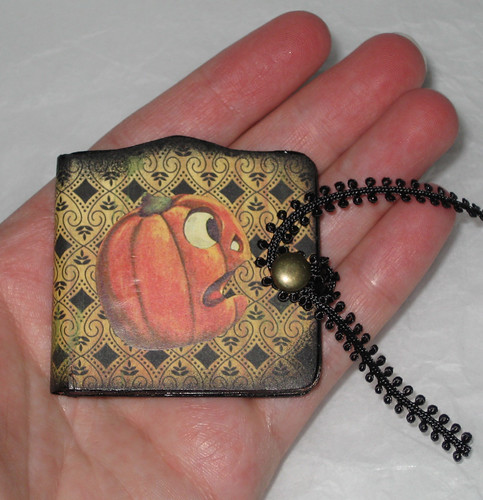
i sanded the book, then gesso'd it, and once that was dry, i inked all of the edges with black stazOn ink. i cut paper to fit for the cover, and added an image of a vintage pumpkin.
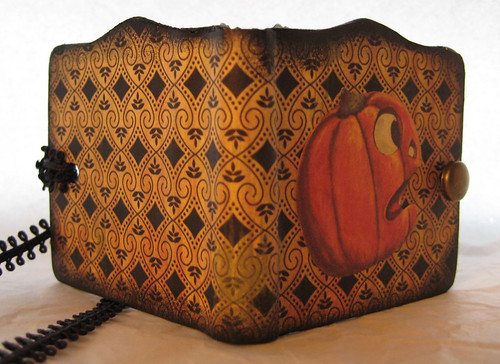
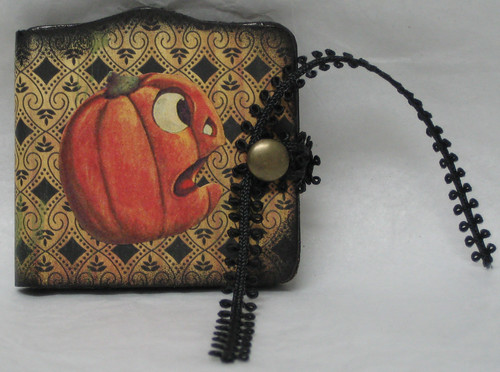
i used my crop-o-dile to punch holes through the book, one in the front to add a antique bronze brad lightly attached to use as a closure,
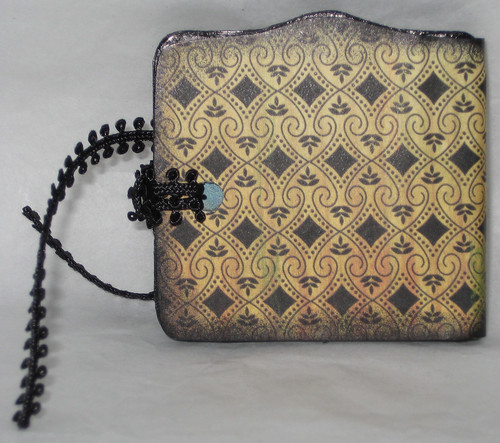
and one in the back to loop the closure trim through
the book only has a few pages
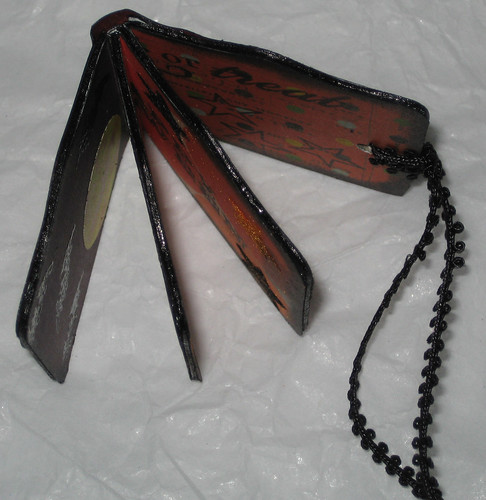
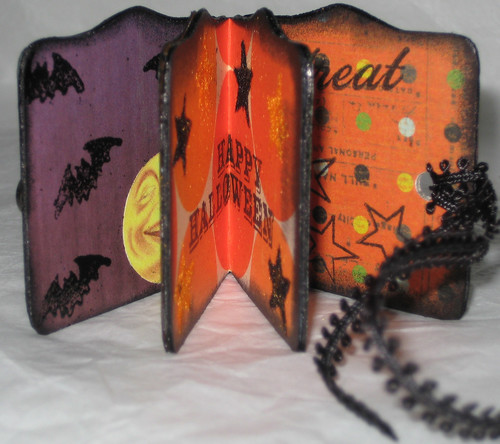
so i cut out scrapbooking paper to fit them and ran it through my xyron machine (love that thing!). once the pages were attached, i inked the edges with stazOn again.
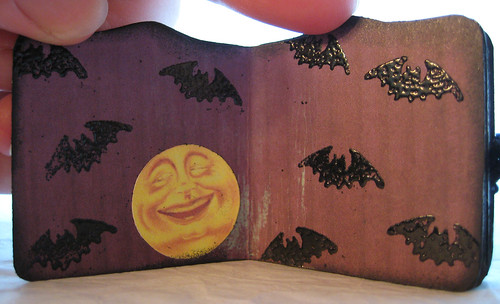
vintage moon image and embossed bats
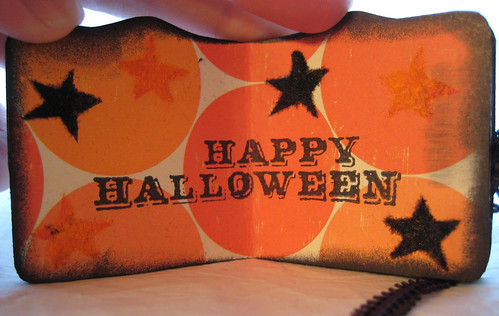
cosmo cricket happy halloween stamp, stars stamped with stazOn ink (making memories stars) and then flocked
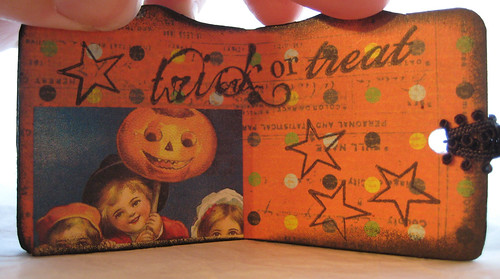
vintage children picture, stamped making memories words and cosmo cricket star. stazOn ink.
i love how it turned out, i was ridiculously pleased with it. i have two more little books like it, both in slightly different shapes, and i'm excited to alter them as well.
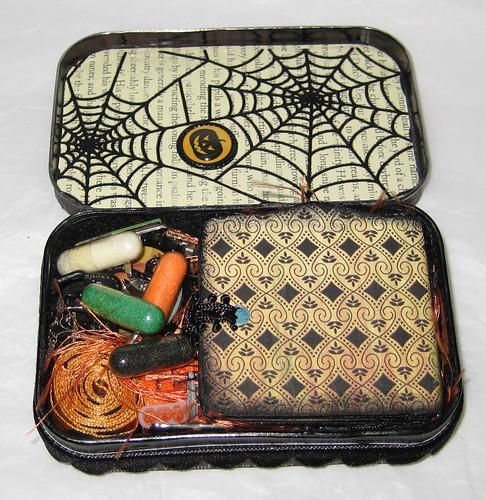
and here's everything all packed up in the tin. it barely fit! i added some of those expanding sponge capsules too, halloween ones.

4 comments:
I love both of those tins. I may have to steal your idea about embossing cut out shapes. That little board book is great too!
thanks! i've done embossing with "stencils" before as well, like with my I for Idol atc. and i used stencils to do the flocking of the stars in the book, so that the glue and the flocking wouldn't get everywhere. scrap paper is a required craft supply around here!
AWESOME work on these, lady! Love the way you handled adversity and pulled out such a beautiful end product.
I've definitely been on the One-disaster-after-another Craft Train before and it's no fun!
thanks kelly! i have another saga to post about too, it was definitely not a good crafting week!
but i LOVE the end result!
Post a Comment