i thought i'd post something a little more upbeat and festive today. and what's more upbeat and festive than RED GLITTER?!!??!!
i posted my skeleton stuffie last week, and you all got to see his dapper little hat, but what you didn't know is that his was a mini version of my mini hat.
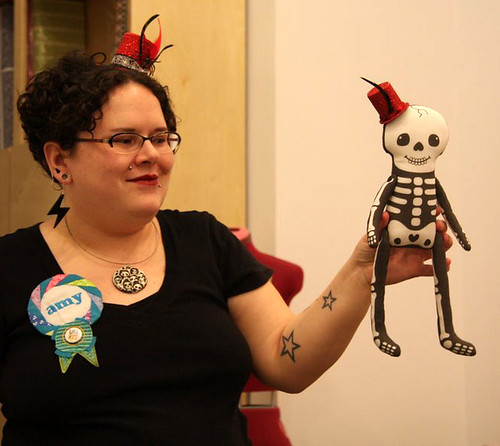
(this lovely photo was taken by Holly at the guild meeting. i was purposely keeping my mouth shut!)
i found this awesome tutorial on sheblogssheblogs and thought WHY did i never think of that? it's so easy and cute! totally a project that you can whip up quickly, if you've left things to the last minute. (who me?) i was only going to make a hat for myself, to wear to our october guild meeting, but then Krista was rather upset that my skeleton was going to be naked, so i decided that he needed a hat too. so we matched.
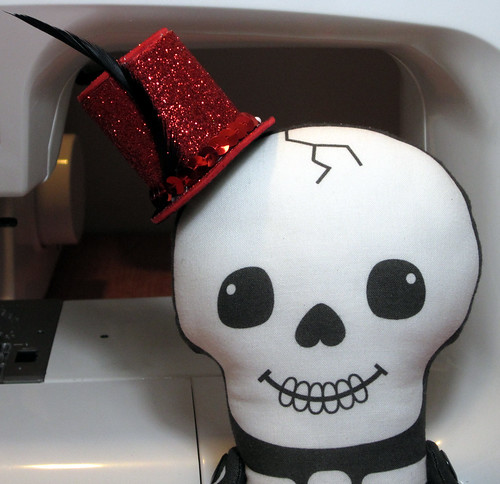
his
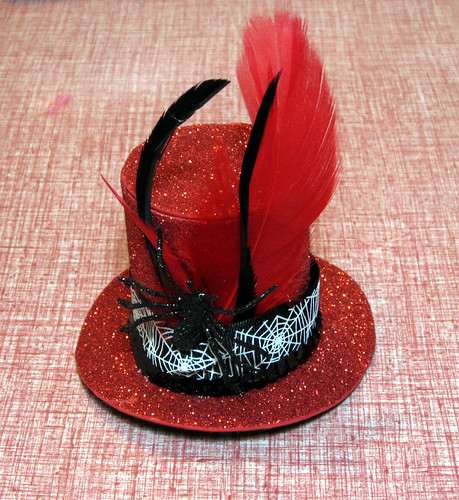
mine!
so, we don't have Hobby Lobby or Jo-anns here, and the prices at canadian Michaels stores are a good 2-3 times higher than they are across the border, minimum, which annoys me to no end, and means that i avoid going to Michaels unless it's totally necessary.
for this project, it was totally necessary! i found a whole pack of glitter foam at Dollarama for $2, enough that you could probably make 10 hats in all different colours. but i really really wanted bright red glitter! so to Michaels i went, and i used my 40% off coupon for a $2 or $3 sheet of foam, which seems kind of ridiculous, in retrospect... but hey, 40% of $3 covered the little glitter spider that i used to decorate it, so don't knock it!
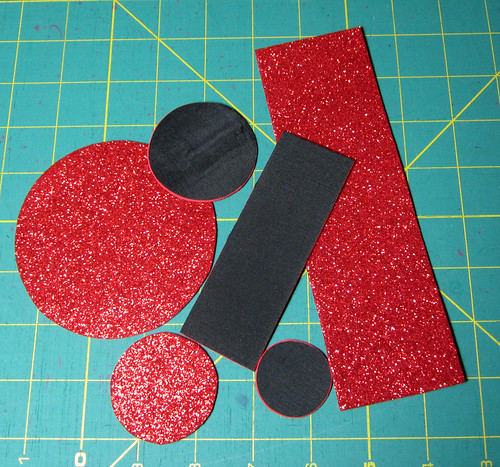
i couldn't find glitter foam that wasn't self adhesive, and that, frankly, felt like a curly haired nightmare, so i carefully stuck the foam to very lightweight black lining material before i cut out the pattern pieces. i thought about felt, because i had some in my stash, but it seemed like it would be too thick, and i was worried that quilting cotton would fray, but the lining was perfect. if you had lining that matched the foam, you could use that instead of black, it just seemed easier to use a colour that wouldn't show up against my hair, rather than trying to match the exact shade of red.
the tutorial calls for hair clips, and i actually went to multiple dollar stores searching for clips like the ones shown, and then i got home and thought "why don't i just attach it to a headband like that fascinator thingy i made awhile ago?" duh amy. so i cut a piece of black grosgrain ribbon, singed the ends, and glued the edges onto the bottom of the hat. i can slide a thin headband through it, and it fits perfectly on my head.
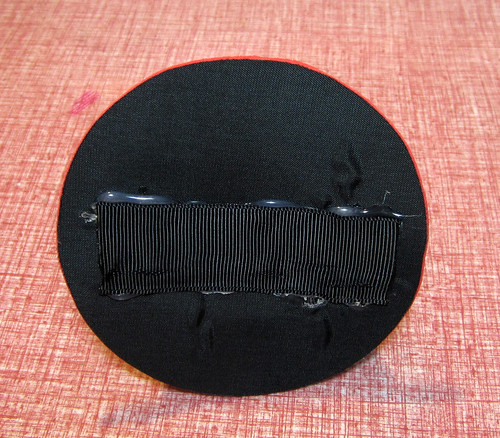
it's not too pretty, but it worked.
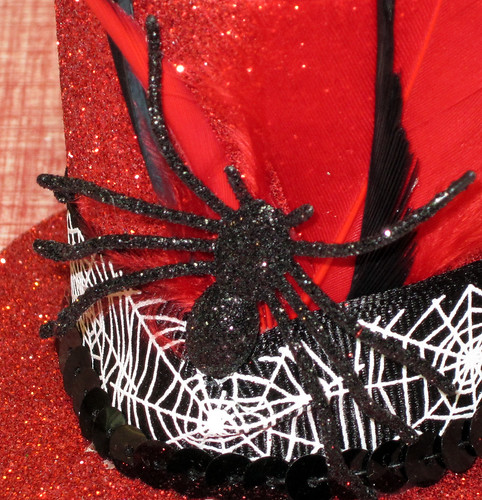
i dug through my stash and found some halloween ribbon (from michaels maybe, or fabricland? can't remember), a couple different kinds of feathers that i ordered a million years ago when i was doing burlesque costuming (from here, i think), black sequins on a string, and one of 6 glittery spiders that i picked up at a dollar store. i swore at my glue gun quite a few times, but things finally did what i wanted, and i'm pretty happy with the outcome!
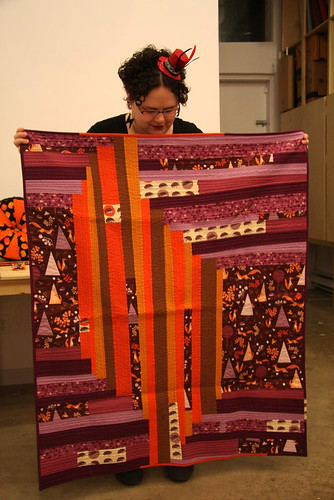
and for good measure, here's another action shot taken by Holly. thank you so much for your awesome pictures Holly!

2 comments:
You and Skellie were a perfect pair! I *loved* your glittery top hats.
Love love love your matching top hats! And your quilt looks amazing!!
Post a Comment