
i've been saving this to post today!

this quilt isn't really my style. for one thing, it's brown. weird, huh?
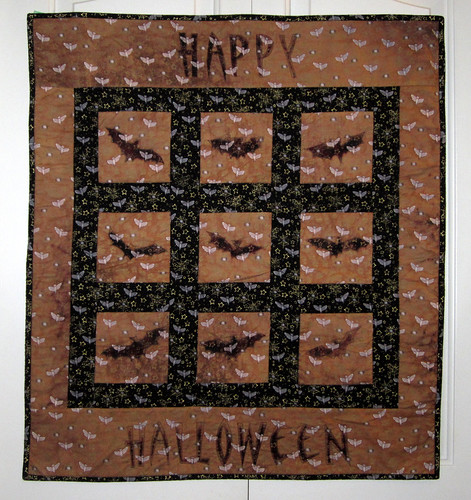
but i just couldn't resist playing with this technique.
this entire quilt front is one fabric. just one. not two colourways of the same print, the exact same fabric.
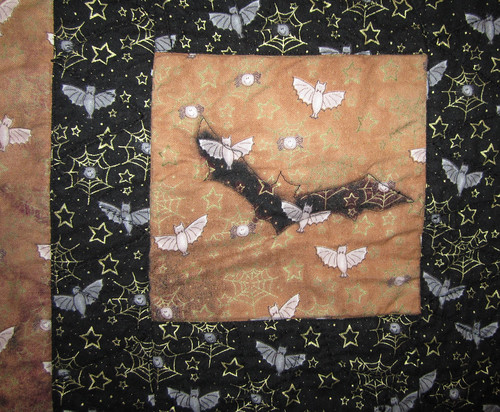
i precut the squares for the front, and then used a bleach and water solution in a regular household spray bottle to remove the colour. i used rubber bats as stencils, and because they didn't lay entirely flat against the fabric, the bleach hit each fabric square differently, depending on the angle i held the spray bottle at.
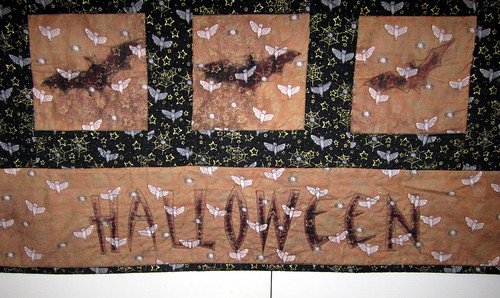
for the words, i printed the letters out onto freezer paper, cut them out, and ironed them on before spraying. you can tell that i didn't rinse the fabric well enough before i sewed it together and pressed it, because the heat of the iron made a bit more colour discharge than i'd really wanted.
i sandwiched the wall quilt with cotton batting, and i didn't think, but i should have used a synthetic batting so that it wouldn't shrink as much. oh well!
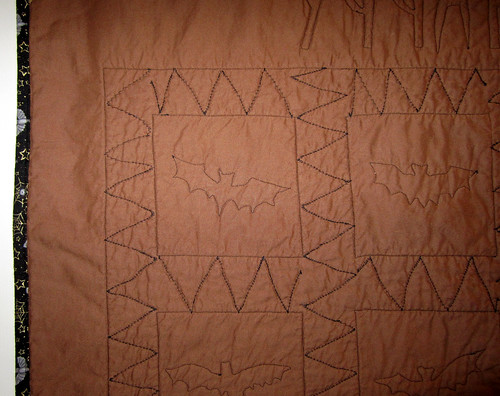
i quilted free hand around each bat shape and around the letters. i really like how you can see how different each bat is from the back!
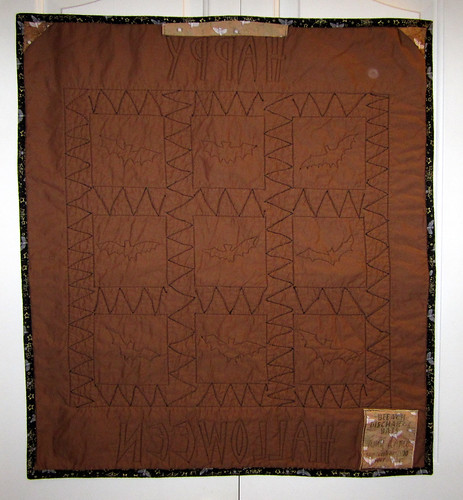
i did zigzag quilting through the sashing, and quilted in the ditch around each square and the larger sashing. i used some of the extra bleached fabric for the hanging sleeve, corner bits and the label.
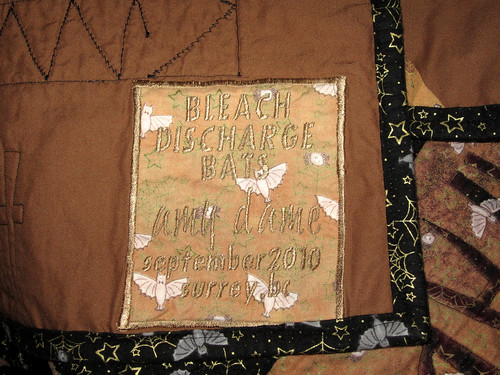
as usual, machine embroidered label. note that it says september 2010!
i did the majority of this quilt last year, but i never got around to binding it. somehow, as months passed, the extra fabric for the binding got separated from the quilt itself, and they were put away into two different WIPs bins (yes, i have two. it's ridiculous, i know) when i did a big studio clean up a few months ago, i came across both, and took them with me to Krista's retreat at the beginning of the month.
i managed to get the binding attached at the retreat, and fused down, and a few weeks later i added the hanging sleeve and stitched it all down. it's finally done. yay!!
i'm linking up to {Sew} Modern Monday. this doesn't feel super modern to me, but i think that the discharge technique is... so i'm including it. modern's subjective anyway, right? i probably should have linked up my Sherbet Pips quilt instead, but come one, it's HALLOWEEN!! you should pop over to Canoe Ridge Creations and check out Megan's pumpkin!

i'm also linking up to Maniac Monday over at Sew Happy Geek! Jenna's had some great guest posters while she's been recovering, along with some fabulous tutorials. my favourites are Sarah's paperpieced spider web placemat tutorial and Jess's patchwork Terrain skirt.

5 comments:
Wow, love the techniques you used for this to manipulate the fabric... nice job!
Thanks so much for stopping by my blog and commenting on the Flower Girl Tutu with Petals tutorial! They skirts are going to be mid-calf. I can't wait to see them all together! Thanks again!
LOVE it! :) What a great technique--although I don't think I am brave enough to try it. :) Thanks for linking up to {Sew} Modern Monday and have a great week!
This came out great!
Ooo, I love this it looks so spooky!
Post a Comment