So I’ve been trying to think of cool things to make for my
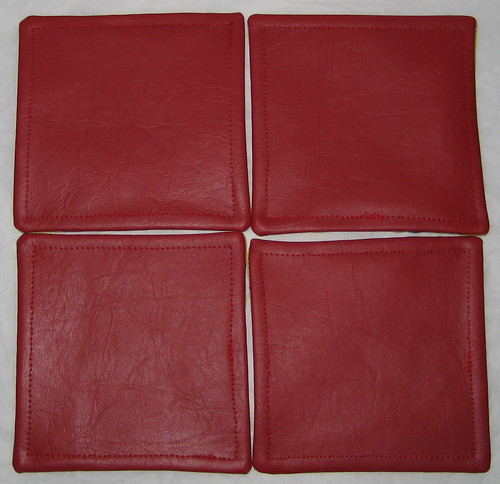
blog giveaway. I have a list of ideas, and I’m still trying to decide between them for each day, but I really liked the idea of making an apron out vintage linens. I’m a little bit apron obsessed (
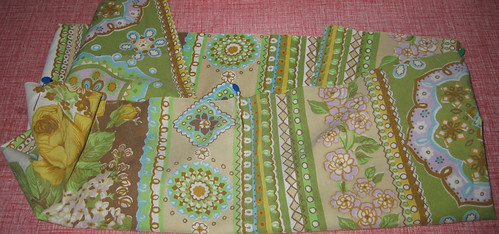
this is just a portion of my vintage apron collection!). I was imagining a white pillowcase or runner with floral embroidery on it, and I KNOW I have some, but the thought of digging around in my crawlspace for one was NOT inspiring at all!
So I dug through my more recent purchases, and came up with this funky patterned pillowcase instead. I love the stripes and patterns, it seems like an older version of some of the current big name fabric designers!
So I set to work, making the apron, photographing each step, writing myself notes, and it’s really coming along nicely and all of a sudden I think “wait… didn’t
Betz White JUST do a pillowcase apron tutorial? crap!” no wonder my idea seemed so good! I totally have to credit Betz for the inspiration!
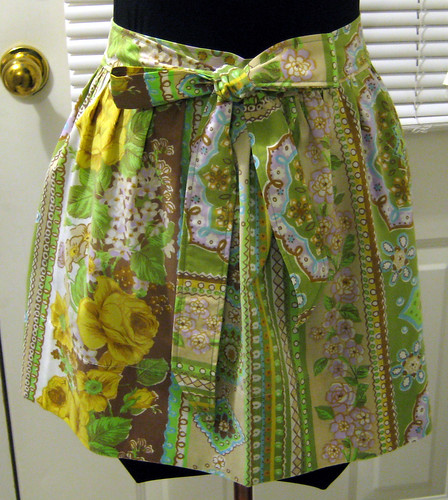
However, my apron is quite a bit different than hers, so I decided to go ahead and create the tutorial for it. And here it is!
Vintage Pillowcase Apron
A note about the fabric – vintage pillowcase can vary quite a bit in their weight. If the fabric is especially lightweight, and you’d like to use the apron to protect your clothing from liquids, you’re going to need to line the apron skirt with a heavier fabric. In addition, you may need to interface the waistband. The pillowcase I used is fairly thin – not as thin as some, but not as thick as others. It’s fine without interfacing!
This apron took me about an hour and a half, and that’s with me photographing every step compulsively. It would’ve been shorter, so this is definitely a project you can do in an evening, or as a last minute hostess gift.
Start with a vintage (or new, but vintage is more fun!) pillowcase.
1. Cut a 15” piece from the bottom of the pillowcase, where the hem is. We’re going to use that pre-existing hem for our apron. Not only does it mean one less step for us to sew, the depth of the hem gives it extra weight, which will help the apron hang better.
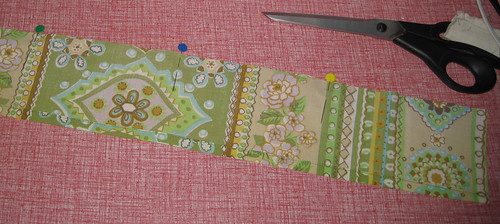
2. Cut 3 pieces that are 4 ½” tall, the width of the pillowcase.
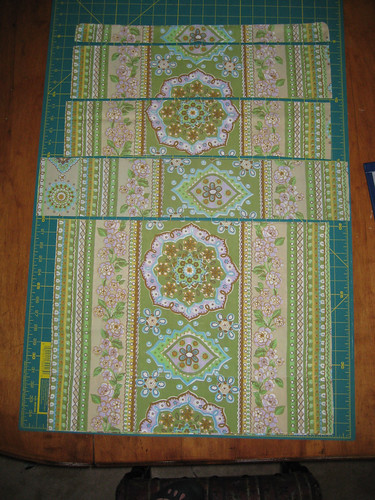
3. Trim seamed edge from the side of all pieces. Most pillowcases have one folded side and one seamed side. If your pillowcase is seamed on both sides, just pick one and cut it off.
*If your pillowcase has a centered design on the front, you’ll want to keep it centered! Instead of cutting the seam off the side of the 15” piece, cut up the centre back.
4. From one 4 ½” wide piece cut a piece that is 18-23” long. It depends on your waist size, you want it to cover your front entirely, and go a little bit to the back.
This is going to leave you with a little extra piece, if you’re feeling optimistic, try making a pocket out of it!

5. Press under the short edges of the apron skirt piece (the 15” piece) about ¼”, then press under again. (note – if you’d like to add trim or other decorations to your apron, add them BEFORE you hem the edges!

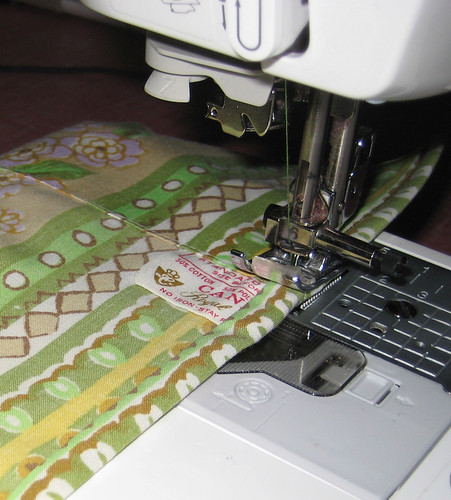
6. Stitch the seams on both sides of the skirt. My pillowcase had a tag sewn into the hem, and I thought it would be cool to leave in, as a reminder of what it once was.
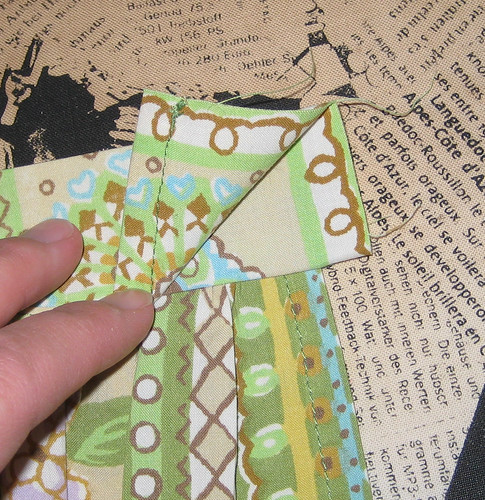
7. Taking the 2 long 4 ½” wide pieces, fold them in half lengthwise and stitch along the long edge.
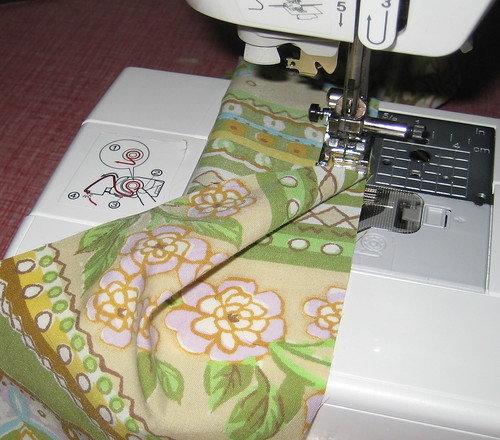
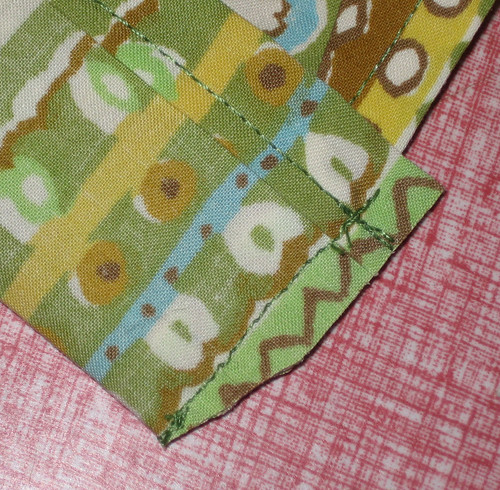
When you reach the corner, create a point at the end. If you’re uncomfortable doing this without a guide, just stitch down to the end, pivot, and stitch across, giving the tie a square end.
8. Press the seam and trim off the extra fabric, paying close attention to the corners.
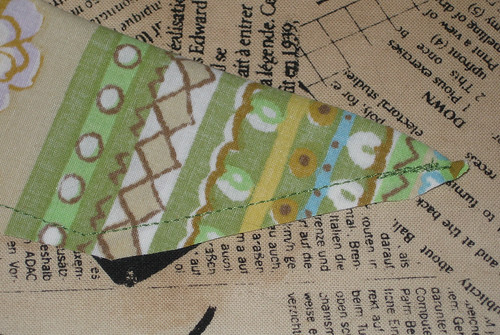
Turn the ties right side out and press again.
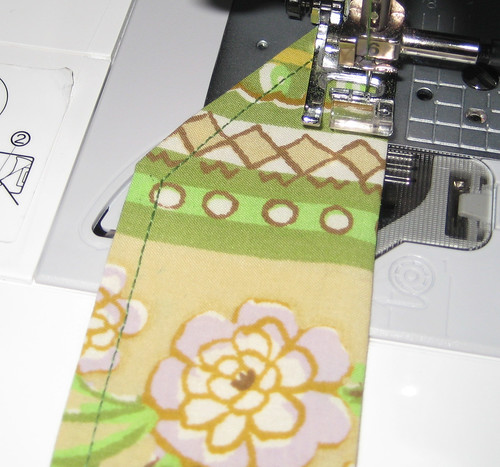
9. Topstitch around the edges.
10. Finish one long edge of the waistband (the shorter 4 ½” piece). Begin by folding the edge under ¼”, pressing, then folding again, then stitching, the same as we did on sides of the apron skirt.


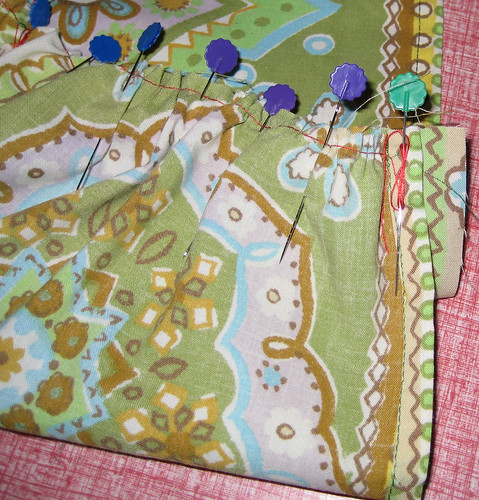
11. Divide the unfinished edge into 4 and pin to mark.
12. Divide the top edge of the apron skirt into 4 and mark with pins.
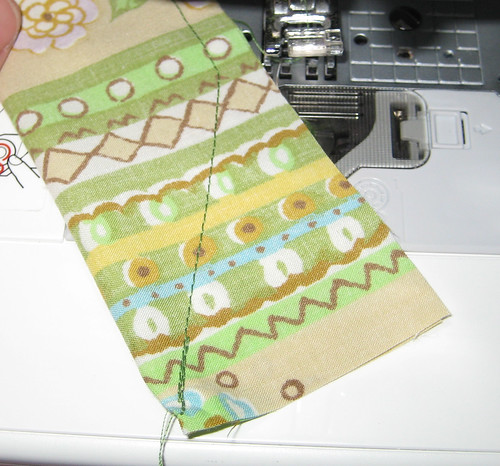
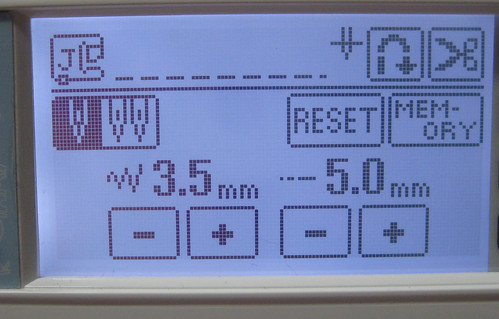
13. Change the stitch length on your machine to the longest stitch (usually 5), and change out your bobbin to use a bright colour (basting is a great way to use up the ends of bobbins!)
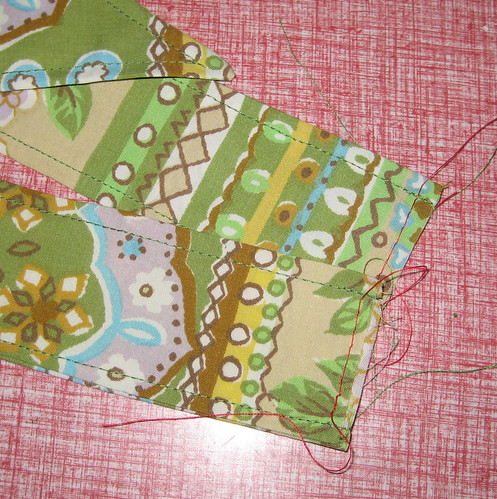
14. Stitch between the pins on the apron skirt, stopping at each pin and leaving longish tails (at least 2”) at the beginning and end of each section. Don’t backstitch!

15. While we’re at it, we want to baste the raw edge of the ties. Baste them then set them aside, attaching them is one of the last steps.
STOP NOW! Reset your stitch length to 2.5, and change back to the matching bobbin! Do it now before you forget! You’ll be seriously annoyed if you sew the rest of the apron in a baste stitch! Trust me on this!
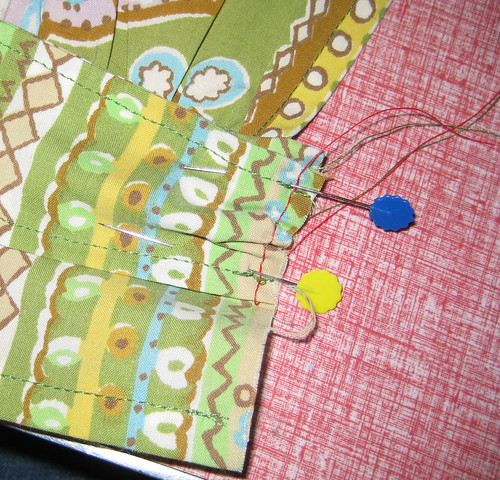
16. Lay the skirt raw edge and the waistband raw edge together, right sides facing, matching pins.
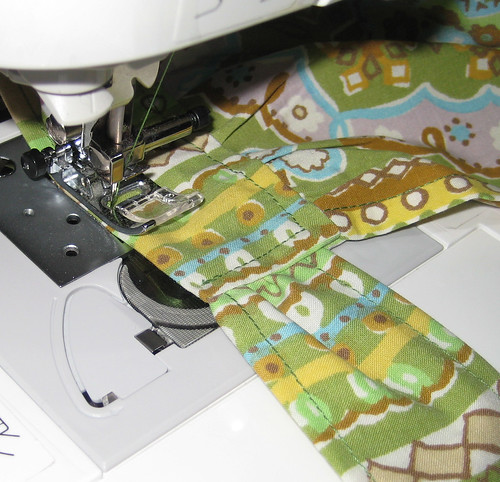
17. Starting ½” from short end of the waistband, gather apron fabric by gently pulling the tails of thread. (The bobbin thread will pull easiest, which is why we used the bright colour for the bobbin instead of the needle thread.) Pin the apron to the waistband piece to secure layers.
18. You reset your stitch length, right? Okay, ready to go! Stitch the skirt to the waistband, removing pins as you go. Once you have sewn the whole length, gently tug on the basting threads and they’ll slip out.
(NOTE - if you have a ruffler foot, which are seriously the best thing since sliced bread - and i love sliced bread, since i'm horrific at cutting it myself! - don't worry about any of this basting crap, just ruffle away! I'm assuming most people don't have $50 sewing machine feet though, so i did mine the hard way to show everyone. oh, the sacrifice.)19. Press the seam towards the waistband.

20. Fold waistband piece right sides together with the finished long edge overlapping the gathered seam by ¼” and press.
21. Gather the unfinished end of each tie piece and fit them inside the folded waistband, one at each end. Pin in place.
22. Stitch the short ends of the waistband using ½” seam allowance. Take care not to catch the skirt in the seam.
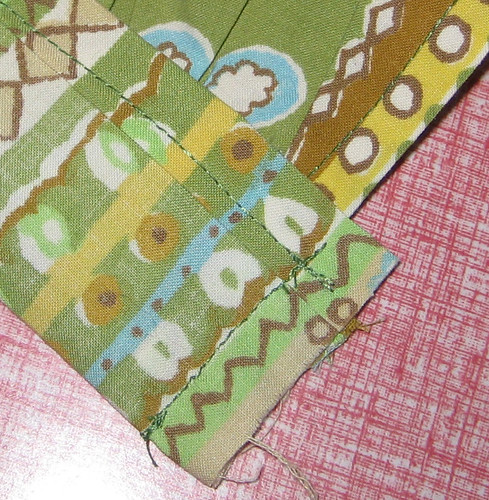
23. Press, trim corners to reduce bulk.
24. Unfold waistband and press. Carefully pin the waistband in place on the wrong side of the apron. This will enclose the gathered seam.

25. Topstitch around the waistband, taking care to include the gathered seam allowance.
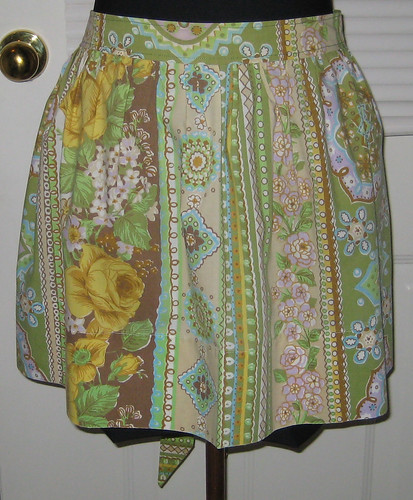
You’re done! Wear your apron with pride!
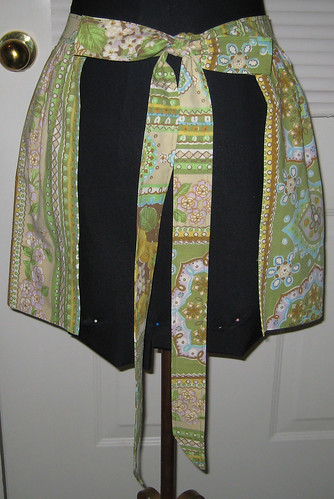
The straps on this apron are quite long – you can do them shorter if you’d like! If you have a tiny waist like my vintage dressform, you can even wrap them around twice!
I hope you liked the tutorial, and I’d LOVE to see your aprons!
If you liked the apron I made, you’re in luck, because it’s a prize in my
BLOG GIVEAWAY!!